Butterfinger Balls: The No-Bake Chocolate Treat Everyone Will Beg You to Make
If you’re searching for the ultimate sweet treat that blends creamy, crunchy, chocolatey bliss… you’ve just found it. These Butterfinger Balls are wildly addictive — the kind of dessert that disappears within minutes at parties and has everyone asking, “Who made these?!”
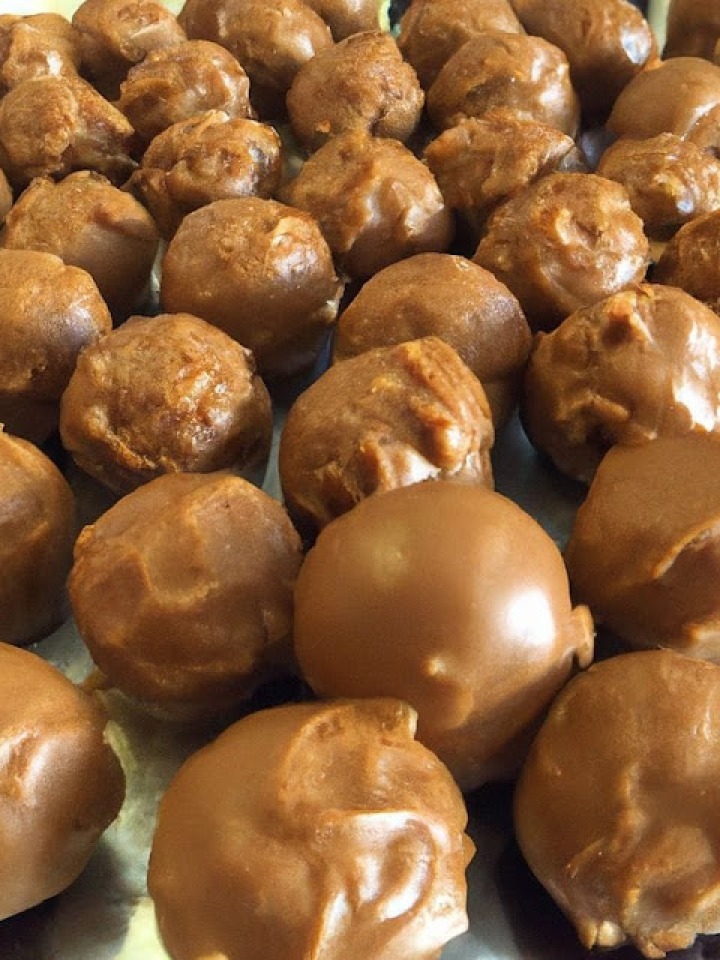
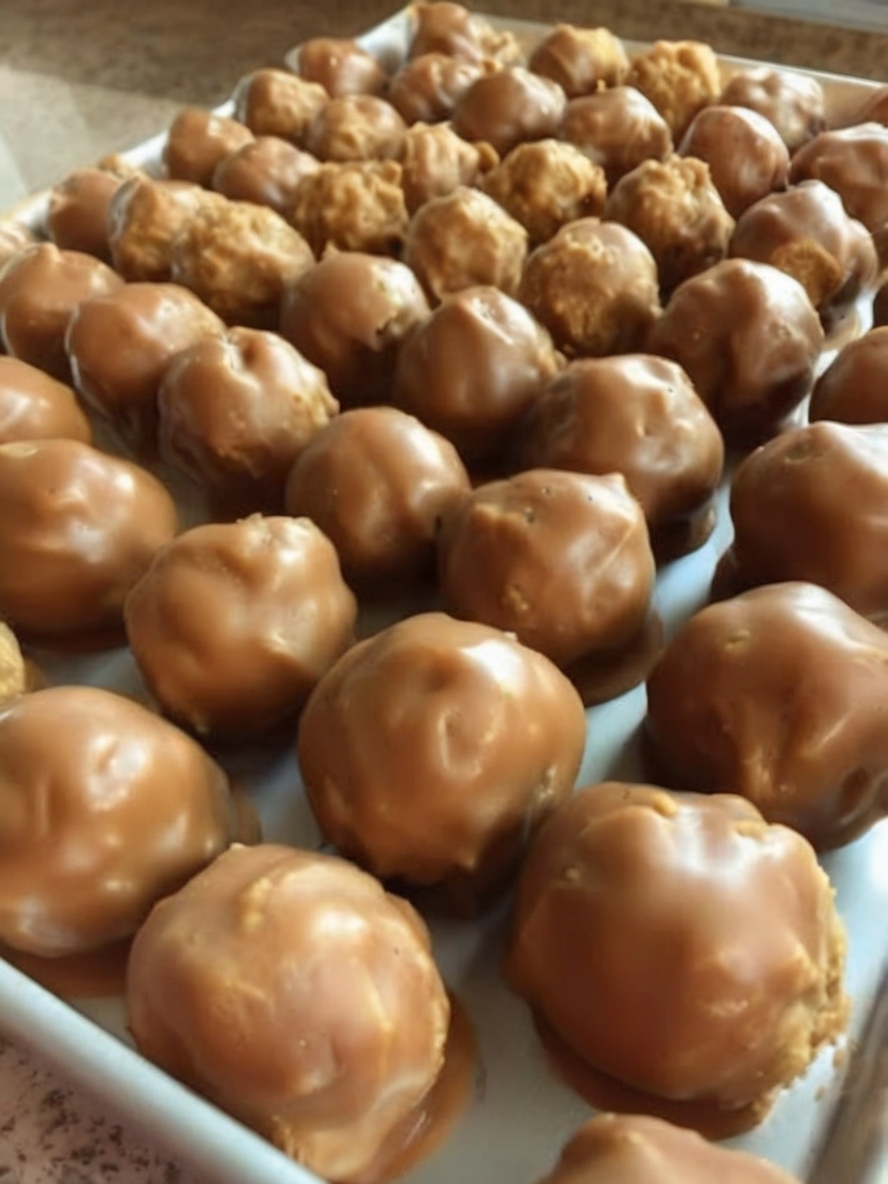
Imagine crushed Butterfinger bars folded into silky cream cheese, rolled into perfect little bites, and dipped in smooth melted chocolate. They’re rich without being heavy, easy without being boring, and fun without requiring baking skills. Whether you need a holiday dessert, a potluck crowd-pleaser, or a sweet little treat just for you, this recipe is guaranteed to impress.
Get ready — your dessert game is about to level up.
Why You’ll Love These Butterfinger Balls
- No-bake dessert — zero oven time, perfect for busy days
- Only 4 ingredients — simple, budget-friendly, and irresistible
- Perfect chocolate shell with a creamy, candy-filled center
- Freezer-friendly — stash them for last-minute cravings
- Holiday favorite — looks like gourmet truffles with almost no effort
- Crowd-pleasing flavor — the peanut-buttery crunch of Butterfinger is unbeatable
Ingredients
For the Butterfinger Center
- 2 cups crushed Butterfinger bars (about 16 fun-size bars)
- 1 (8 oz) package cream cheese, softened
For the Chocolate Coating
- 2 cups chocolate chips
- 1 tablespoon vegetable butter (optional, for smoother melting)
Optional Toppings
- Extra crushed Butterfinger
- Chocolate sprinkles
- Drizzle of white chocolate
Equipment You’ll Need
- Mixing bowl
- Hand mixer or sturdy spoon
- Baking sheet
- Wax paper or parchment paper
- Microwave-safe bowl
- Fork or dipping tool
- Refrigerator space
Step-by-Step Instructions
1. Make the Butterfinger Filling
In a large bowl, mix softened cream cheese with crushed Butterfinger pieces.
Blend until fully combined — the mixture should be thick and slightly sticky.
2. Shape Into Balls
Using your hands, roll the mixture into 1-inch balls.
Place them onto a wax-paper-lined baking sheet.
Chill for 30 minutes to firm them for dipping.
3. Melt the Chocolate
Add chocolate chips to a microwave-safe bowl.
Heat in 30-second intervals, stirring after each, until smooth.
Stir in vegetable butter if desired for a silkier coating.
4. Dip in Chocolate
Using a fork, dip each chilled ball into the melted chocolate.
Let excess chocolate drip off.
5. Add Decorations
Before the chocolate hardens, sprinkle on:
-
Crushed Butterfinger
-
Sprinkles
-
Extra chocolate drizzle
6. Chill Again
Place the dipped balls back onto the lined baking sheet.
Refrigerate for 1 hour or until the chocolate is fully set.
7. Serve & Enjoy
Once the coating is hardened, they’re ready to enjoy!
Serve on a platter or store for later sweet cravings.
Pro Tips for Perfect Butterfinger Balls
- Make sure the cream cheese is softened for smooth mixing.
- Crush the Butterfinger finely for a more uniform texture.
- Use dipping tools or a fork to get cleaner chocolate coverage.
- Don’t skip the chilling step — it keeps the balls from falling apart.
- Use parchment instead of foil to prevent sticking.
Variations & Substitutions
- Peanut Butter Version: Add ¼ cup creamy peanut butter to the filling
- White Chocolate Coating: Dip in melted white chocolate instead
- Crunchy Outside: Roll in crushed nuts after dipping
- No Butterfinger? Try Reese’s cups, Kit Kats, or Crunch bars
- Healthier Twist: Use dark chocolate instead of milk chocolate
Serving, Pairing & Storage
Serving Ideas
- Add to a holiday cookie tray
- Gift in a decorative tin
- Serve with coffee, hot cocoa, or after-dinner drinks
- Use as a topping on ice cream
Storage
- Refrigerator: Up to 1 week in an airtight container
- Freezer: Up to 3 months
(Freeze after dipping; thaw in fridge before serving)
Frequently Asked Questions
Q: Can I use a food processor to crush the candy bars?
Yes! It makes the process fast and easy.
Q: Why do the balls fall apart during dipping?
They weren’t chilled long enough — pop them back in the fridge.
Q: Can I use low-fat cream cheese?
You can, but regular cream cheese makes a firmer, richer truffle.
Q: Can these be made ahead?
Absolutely — they’re even better after chilling overnight.
Butterfinger Balls
Ingredients
Equipment
Method
- Combine softened cream cheese and crushed Butterfinger bars in a mixing bowl until fully blended.
- Roll the mixture into 1-inch balls and place on a wax-paper-lined baking sheet. Refrigerate for 30 minutes.
- Melt chocolate chips in a microwave-safe bowl in 30-second intervals, stirring until smooth. Add vegetable butter if desired.
- Dip each chilled ball into the melted chocolate using a fork; let excess drip off.
- Place dipped balls back onto the baking sheet and add toppings if desired.
- Refrigerate for 1 hour or until the chocolate coating is fully set.
- Serve chilled or store in an airtight container.
Notes