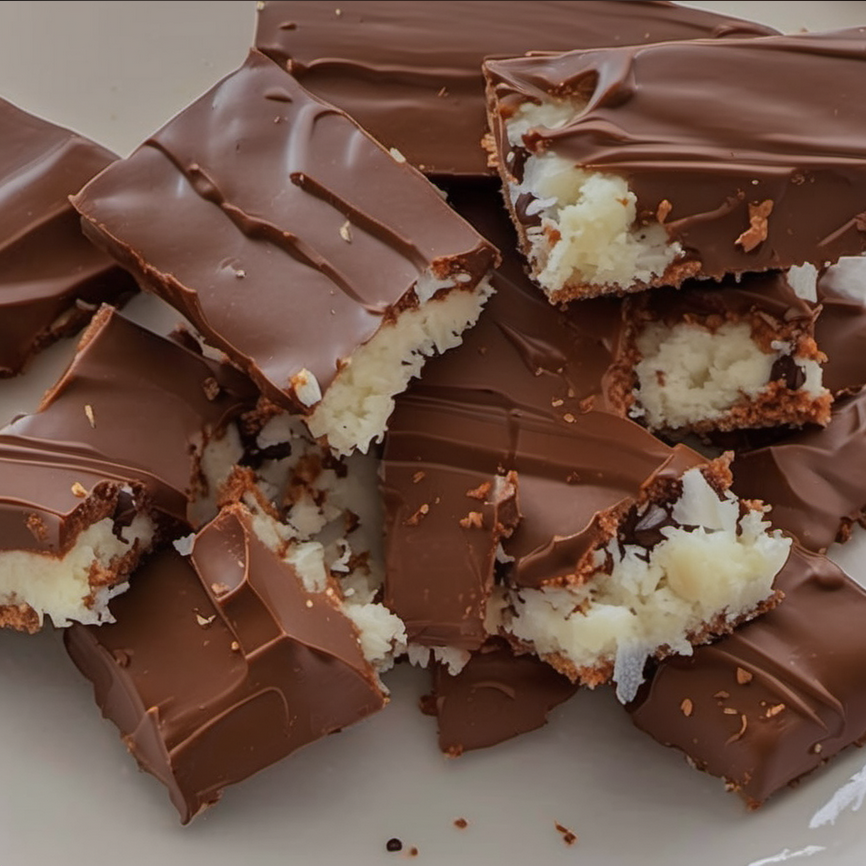
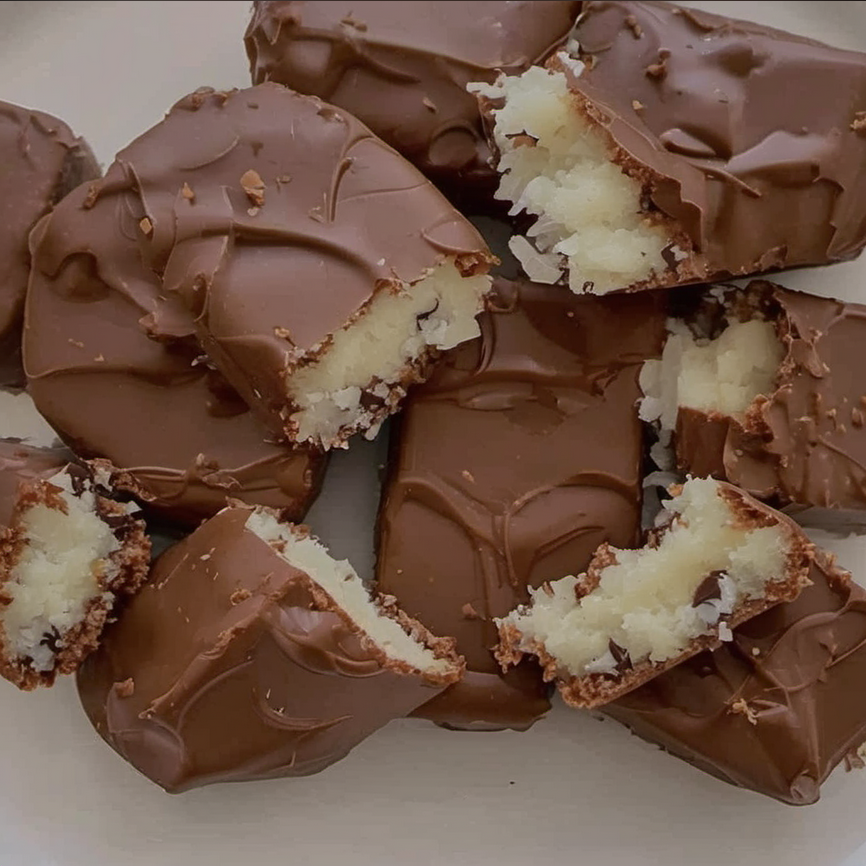
Homemade Chocolate Coconut Bars Recipe: A Delicious Treat
Chocolate coconut bars made from scratch are a delightful treat that combines the tropical flavor of coconut with the rich taste of chocolate. This easy-to-make dessert is perfect for any occasion, offering a homemade twist on classic store-bought candy bars. Let's dive into the history, ingredients, and step-by-step process of making these delicious bars at home.
The History and Popularity of Chocolate Coconut Bars
A Brief History
Chocolate and coconut have been paired in desserts for over a century. The combination gained popularity in the early 1900s with the introduction of commercial candy bars like Mounds and Bounty, solidifying their place in the confectionery market.
Why We Love Them
- Taste Complementary: The creamy, sweet coconut center contrasts beautifully with the rich chocolate coating.
- Textural Contrast: The soft chocolate shell and the crunchy coconut filling create a delightful texture.
- Versatility: These bars can be customized with different types of chocolate and additional ingredients to suit a wide range of tastes.
Ingredients for Homemade Chocolate Coconut Bars
To make these delectable bars, you'll need the following ingredients:
- 2 cups of sweetened shredded coconut
- 1 cup of sweetened condensed milk
- 1 teaspoon of vanilla extract
- 2 cups of melted chocolate or semi-sweet chocolate chips
- 2 tablespoons of coconut oil (optional, for a smoother chocolate coating)

Step-by-Step Recipe for Chocolate Coconut Bars
1. Prepare the Coconut Filling
- In a large bowl, combine the sweetened condensed milk, vanilla extract, and shredded coconut. Stir until the coconut is thoroughly coated with the condensed milk.
- Shape the mixture into small rectangular bars using your hands. Place them on a parchment-lined baking sheet. Refrigerate for at least 30 minutes to firm up.
2. Melt the Chocolate
- Place the chocolate chips or chunks in a heatproof bowl and set it over a pot of simmering water (double boiler). Stir until the chocolate is completely melted and smooth. Alternatively, melt the chocolate in the microwave in 30-second intervals, stirring between each interval.
- For a smoother and shinier coating, add 2 tablespoons of coconut oil to the melted chocolate.
3. Coat the Bars
- Dip each chilled coconut bar into the melted chocolate, using a fork to ensure it's fully coated. Allow excess chocolate to drip off before placing the bar back on the parchment-lined baking sheet.
- Repeat with all the bars. If the chocolate begins to harden, gently reheat it over the double boiler or in the microwave.
4. Chill and Serve
- Refrigerate the chocolate-coated bars for about 15-20 minutes, or until the chocolate is completely set.
- Serve the bars directly from the fridge for a refreshing treat, or at room temperature for a softer texture.
Customizing Your Chocolate Coconut Bars
Making homemade chocolate coconut bars allows for plenty of customization:
- Different Chocolates: Use milk, dark, or white chocolate for the coating, based on your preference.
- Added Crunch: Mix chopped nuts like almonds, pistachios, or macadamia nuts into the coconut mixture.
- Flavor Variations: Add almond extract, coconut extract, or a splash of rum for a unique twist.
- Toppings: Sprinkle sea salt, additional shredded coconut, or crushed nuts on top of the chocolate before it sets.
Tips for Perfect Chocolate Coconut Bars
- Uniform Size: Try to shape the bars as uniformly as possible for even coating and presentation.
- Consistent Temperature: Keep the chocolate at a consistent temperature while coating the bars to ensure a smooth finish.
- Proper Chilling: Allow adequate chilling time for both the coconut mixture and the coated bars to ensure they hold their shape.
Chocolate coconut bars are a perfect blend of rich chocolate and tropical coconut flavors. Follow this simple recipe to create your batch of these delightful bars, customized to your taste. Whether served as a snack, dessert, or gift, these bars are sure to be a hit with family and friends.
Enjoy making and eating these delicious homemade treats!
