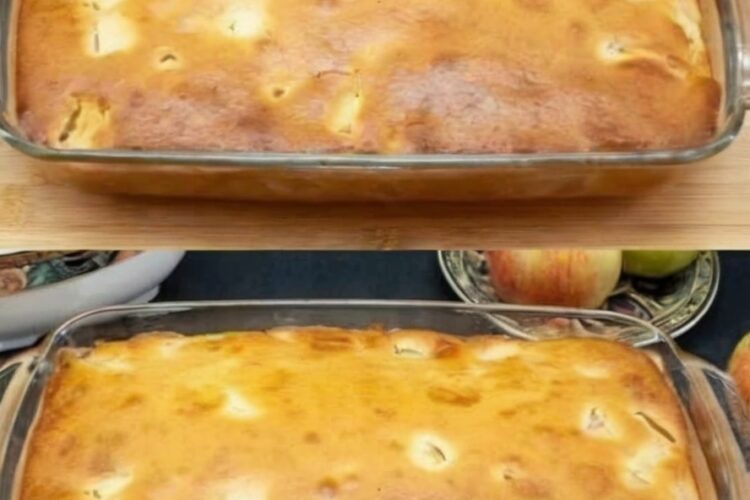
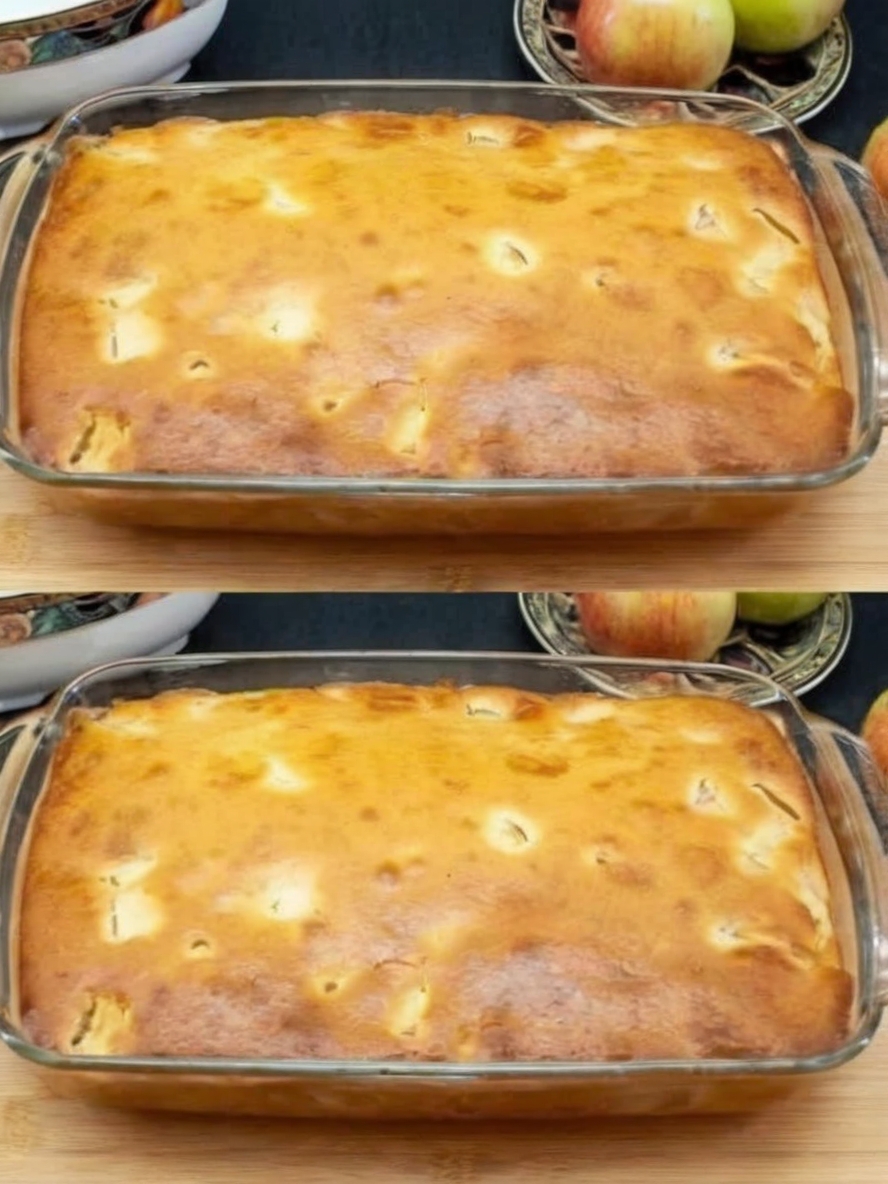
The Apple Pie That Made Me Understand Why People Write Poems About Dessert
There are apple pies that taste fine, and then there's this Apple Pie That Truly Melts in Your Mouth—the one where tender apple slices literally dissolve on your tongue like they're made of sweet, spiced clouds, where the crust shatters into buttery flakes at the gentlest touch of your fork, where every component works in perfect harmony to create something that feels less like eating dessert and more like experiencing comfort in its purest form. This isn't the pie you grab a slice of standing at the counter. This is the pie you sit down for, the one that makes you close your eyes on the first bite, the one people remember years later.
What makes this recipe genuinely transformative is how it achieves that elusive melt-in-your-mouth texture through a few crucial techniques most recipes skip. The apples are sliced to a precise ¼-inch thickness—thin enough to become impossibly tender but thick enough to hold their shape. A touch of lime juice (not lemon) brightens the flavor while helping the apples soften. Cornstarch instead of flour creates a glossy, translucent filling that clings to each slice instead of that cloudy, starchy mess. And the most important secret? You must—absolutely must—let this pie cool completely for 2-3 hours before cutting. That cooling time is when the cornstarch fully sets and the filling transforms from liquid to that silky, sliceable perfection. Make this once and you'll understand why people get emotional about pie.
Why You'll Love This Recipe
- Truly melts in your mouth—apples so tender they dissolve
- Shatter-crisp crust with a golden, sugared top
- Glossy, silky filling that clings to every slice
- Perfect apple blend—tart Granny Smith plus sweet Honeycrisp
- Lime juice brightens without overpowering
- Cornstarch creates clarity—no cloudy, starchy filling
- Holds its shape beautifully for clean slices
- Tastes even better the next day after flavors meld
- Freezes beautifully for future celebrations
- The kind of pie people remember for years
Ingredients
Makes one 9-inch pie | Serves 8
The Filling:
- 6-8 cups (2.5-3 lbs) apples, peeled, cored, sliced ¼-inch thick
- Recommended blend: 3 cups Granny Smith (tart structure) + 3 cups Honeycrisp (sweet melt)
- ¾ cup packed dark brown sugar
- ½ teaspoon ground cinnamon
- ¼ teaspoon freshly grated nutmeg (grate whole for floral warmth)
- ¼ teaspoon fine sea salt
- 2 tablespoons cornstarch (critical for glossy, non-runny filling)
- ½ teaspoon fresh lime juice (bottled lacks brightness)
For Assembly:
- 2 store-bought 9-inch pie crusts (or your favorite homemade)
- 1 large egg yolk + 1 teaspoon cold water (for golden wash)
- 1 tablespoon granulated sugar (for sparkling crust)
- Optional but transcendent: 1 tablespoon cold butter, cut into tiny dots
Equipment
- 9-inch glass pie dish
- Baking sheet
- Large mixing bowl
- Small bowl (for egg wash)
- Pastry brush
- Sharp knife or mandoline
- Wire cooling rack
- Aluminum foil (for shielding edges)
Step-by-Step Instructions
Step 1: Prep with Intention
Preheat your oven to 375°F (190°C). Place a baking sheet on the lower oven rack while the oven preheats—this catches any drips and ensures your bottom crust gets beautifully golden instead of soggy. Having it preheated is important.
Step 2: Craft the Perfect Filling
In a large mixing bowl, toss your precisely sliced apple pieces (remember: uniform ¼-inch thickness is key) with the fresh lime juice first—this prevents browning and starts the tenderizing process. Add the dark brown sugar, ground cinnamon, freshly grated nutmeg, salt, and cornstarch. Mix the cornstarch with the sugar first before adding to the apples to prevent clumping. Gently fold everything together with your hands or a large spoon until every single apple slice glistens with the spiced sugar mixture. Let this rest for 10 minutes—the sugar will draw out some of the apple juices, which is exactly what you want for perfect thickening.
Step 3: Assemble with Care
Fit your bottom pie crust into your 9-inch glass pie dish, gently pressing it into the corners without stretching. Mound the apple filling high in the center—and I mean really pile it up, because apples shrink significantly as they bake. If you're using the optional butter, dot those tiny pieces over the top of the apples for extra richness. Drape the top crust over the filling. Trim the edges leaving about 1 inch of overhang all around, then fold that overhang under itself and crimp firmly with your fingers or a fork to seal. This seal is important—it prevents filling from bubbling out. Cut 5 steam vents in a star pattern on top—vents allow steam to escape so you don't get a soggy top crust.
Step 4: The Golden Finish
In a small bowl, whisk together the egg yolk and cold water until smooth. Using a pastry brush, lightly brush this egg wash over the entire top crust, being careful to avoid the vents themselves. Sprinkle the granulated sugar evenly over the wet egg wash—this creates that gorgeous sparkly, slightly crunchy top. Pro move: At this point, you can freeze the assembled pie for 15 minutes before baking. Starting with a cold crust creates flakier layers.
Step 5: Bake to Perfection
Place your pie on that preheated baking sheet in the oven. Bake for 45-55 minutes total. You're looking for three signs of doneness: the crust should be a deep amber gold color, the filling should be bubbling thickly through the vents (not watery), and a toothpick inserted near one of the vents should meet softened apples with little resistance. If your crust edges are browning too quickly—usually around the 30-minute mark—create a shield by loosely covering just the edges with strips of aluminum foil or a silicone pie shield.
Step 6: Cool with Reverence (This Is Non-Negotiable)
Remove the pie from the oven and carefully transfer it to a wire cooling rack. Now comes the hardest part: you must let it cool completely for 2-3 hours before cutting. I know this is torture when it smells that incredible, but this cooling time is when the cornstarch fully sets and the filling transforms from liquid to that silky, sliceable perfection everyone dreams about. Cutting early gives you a runny mess. Patience gives you melt-in-your-mouth slices that hold their shape beautifully.
Step 7: Serve with Soul
Once fully cooled, slice with a sharp knife that you've dipped in hot water and wiped clean between each cut—this prevents sticking and creates the cleanest slices. Serve slightly warm (reheat slices for 10 minutes at 300°F if desired) or at room temperature. Top with vanilla bean ice cream that melts into cinnamon rivers, a dusting of extra cinnamon and flaky sea salt, or whipped cream kissed with a hint of orange zest.
Pro Tips
- Slice apples uniformly. Use a mandoline with the guard for perfect ¼-inch slices. Uniform thickness means even tenderness.
- Mix cornstarch with sugar first. This prevents clumping when you add it to the wet apples.
- Vent generously. Steam needs to escape for a crisp top crust, not a soggy lid.
- Use a glass dish. It lets you monitor the bottom crust browning through the glass—aim for deep gold.
- Don't skip the lime. Its subtle acidity balances sweetness and helps tenderize the apples better than lemon.
- Grate a pinch of orange zest into the sugar. That citrus spark is the difference between beloved and unforgettable.
Variations & Substitutions
- Try different apple combinations: Granny Smith + Jonagold, or Braeburn + Golden Delicious all work beautifully.
- Add warming spices: Include ¼ teaspoon of cardamom or ground ginger for complexity.
- Make it caramel apple: Drizzle ¼ cup of caramel sauce over the apples before adding the top crust.
- Add cranberries: Fold in ½ cup of fresh or frozen cranberries for tart pops of color.
- Make it crumb-topped: Skip the top crust and use a butter-oat-brown sugar crumble instead.
- Add bourbon: Replace the lime juice with 1 tablespoon of bourbon for depth.
- Make it chai-spiced: Add ¼ teaspoon each of cardamom, ginger, and cloves along with the cinnamon.
- Use maple sugar: Replace the brown sugar with maple sugar for deeper, more complex sweetness.
Serving, Pairing & Storage
How to Serve:
Slice into 8 generous wedges using a sharp knife dipped in hot water. Serve slightly warm or at room temperature with vanilla bean ice cream, fresh whipped cream, or a sharp cheddar cheese slice for the classic sweet-savory combination.
What It Pairs Well With:
Strong black coffee, hot apple cider, vanilla ice cream, freshly whipped cream, or a glass of dessert wine like late-harvest Riesling.
Storage:
Store covered at room temperature for up to 2 days or refrigerated for up to 5 days. The pie actually improves after a day as the flavors meld.
Freezing Instructions:
This pie freezes beautifully! Wrap the cooled pie tightly in plastic wrap and then aluminum foil. Freeze for up to 3 months. Thaw overnight in the refrigerator and warm slices in a 300°F oven for 10 minutes before serving.
Reheating Tips:
Reheat individual slices in a 300°F oven for 10 minutes to restore warmth and crispness. Microwave works in a pinch but won't give you the same crisp crust.
Make-Ahead:
Bake the pie 1 day ahead. Cool completely, then store covered at room temperature. The flavors deepen overnight. You can also assemble the unbaked pie, freeze it, and bake straight from frozen (add 15-20 minutes to baking time).
FAQ
Can I skip the lime juice?
Not recommended. Its subtle acidity balances the sweetness and helps tenderize the apples. Lemon works in a pinch but lime's floral notes truly elevate the pie.
Why cornstarch instead of flour?
Flour creates a cloudy, sometimes starchy-tasting filling. Cornstarch yields a translucent, silky texture that's essential for that melt-in-your-mouth factor.
My filling is runny—what went wrong?
You cut into the pie before it cooled completely. The cornstarch needs 2-3 hours of cooling to fully set. Patience is non-negotiable here.
Can I use pre-sliced apples?
Only if they're uniformly ¼-inch thick. Most pre-sliced apples are too thick and won't achieve the melt-in-your-mouth texture.
My bottom crust is soggy—why?
Either you didn't prebake the baking sheet, you didn't vent enough steam, or you used a metal pan instead of glass which doesn't conduct heat as well for the bottom crust.
Can I make this with a lattice top?
Yes! A lattice allows even more steam to escape and looks beautiful. Just make sure you still brush it with egg wash and sprinkle with sugar.
What if my edges brown too fast?
Cover just the edges with foil strips around the 30-minute mark. This protects them while the center finishes baking.
Apple Pie That Truly Melts in Your Mouth
Ingredients
Equipment
Method
- Preheat oven to 375°F (190°C). Place baking sheet on lower oven rack to preheat—catches drips and ensures golden bottom crust.
- In large bowl, toss ¼-inch-thick apple slices with fresh lime juice first—prevents browning and starts tenderizing. Add brown sugar, cinnamon, freshly grated nutmeg, salt, and cornstarch. Mix cornstarch with sugar first before adding to apples to prevent clumping. Gently fold until every slice glistens. Let rest 10 minutes—sugar draws out juices for perfect thickening.
- Fit bottom crust into 9-inch glass pie dish, pressing into corners without stretching. Mound apple filling high in center—pile up high because apples shrink. If using optional butter, dot tiny pieces over apples. Drape top crust over filling. Trim edges leaving 1-inch overhang. Fold under and crimp firmly to seal. Cut 5 steam vents in star pattern—allows steam escape so no soggy top.
- In small bowl, whisk egg yolk and cold water until smooth. Using pastry brush, lightly brush over entire top crust, avoiding vents. Sprinkle granulated sugar evenly over wet egg wash for sparkly, crunchy top. Pro move: Freeze assembled pie 15 minutes before baking for flakier crust layers.
- Place pie on preheated baking sheet. Bake 45-55 minutes until: crust is deep amber gold, filling bubbles thickly through vents (not watery), and toothpick inserted near vent meets softened apples with little resistance. If edges darken too fast, shield with foil ring after 30 minutes.
- Transfer to wire cooling rack. Cool completely 2-3 hours—NON-NEGOTIABLE. This is when cornstarch fully sets and filling transforms from liquid to silky, sliceable perfection. Cutting early = runny pie. Patience = melt-in-your-mouth slices.
- Slice with sharp knife dipped in hot water, wiping between cuts. Serve slightly warm (reheat slices 10 minutes at 300°F if desired) or room temp. Top with vanilla ice cream, dusting of cinnamon + flaky sea salt, or whipped cream with orange zest.
Notes
Mix cornstarch with sugar first—prevents clumping when added to wet apples.
Vent generously—steam needs escape for crisp top, not soggy lid.
Use glass dish—lets you monitor bottom crust browning through glass. Aim for deep gold.
Don't skip lime—subtle acidity balances sweetness and tenderizes apples better than lemon.
Grate pinch orange zest into sugar—citrus spark is difference between beloved and unforgettable.
Different apple combos: Granny Smith + Jonagold, or Braeburn + Golden Delicious all work.
Add warming spices: Include ¼ teaspoon cardamom or ground ginger.
Caramel apple: Drizzle ¼ cup caramel sauce over apples before top crust.
Add cranberries: Fold in ½ cup fresh or frozen for tart pops.
Crumb-topped: Skip top crust, use butter-oat-brown sugar crumble.
Add bourbon: Replace lime juice with 1 tablespoon bourbon.
Chai-spiced: Add ¼ teaspoon each cardamom, ginger, cloves with cinnamon.
Maple sugar: Replace brown sugar with maple sugar for deeper sweetness.
Skip lime: Not recommended. Acidity balances sweetness and tenderizes. Lemon works in pinch but lime's floral notes elevate.
Cornstarch vs flour: Flour creates cloudy, starchy-tasting filling. Cornstarch yields translucent, silky texture essential for melt-in-mouth factor.
Runny filling: Cut into pie before cooled completely. Cornstarch needs 2-3 hours cooling to fully set. Patience non-negotiable.
Pre-sliced apples: Only if uniformly ¼-inch thick. Most pre-sliced too thick, won't achieve melt texture.
Soggy bottom crust: Didn't prebake baking sheet, didn't vent enough steam, or used metal pan instead of glass.
Lattice top: Yes! Allows even more steam escape, looks beautiful. Still brush with egg wash and sprinkle sugar.
Edges brown too fast: Cover just edges with foil strips around 30-minute mark.
Store covered room temp up to 2 days or refrigerated up to 5 days. Actually improves after day as flavors meld.
Freezes beautifully. Wrap cooled pie tightly in plastic then foil up to 3 months. Thaw overnight in fridge, warm slices at 300°F for 10 minutes.
Reheat slices in 300°F oven 10 minutes to restore warmth and crispness. Microwave works but won't give crisp crust.
Make ahead: Bake 1 day ahead, cool completely, store covered room temp. Flavors deepen overnight. Can assemble unbaked, freeze, bake straight from frozen (add 15-20 minutes baking time).
Serve: With vanilla ice cream, fresh whipped cream, or sharp cheddar cheese for sweet-savory combo.
Pairs with: Strong black coffee, hot apple cider, vanilla ice cream, whipped cream, late-harvest Riesling.