The Taco Pockets That Made Me Realize Dinner Can Be This Easy
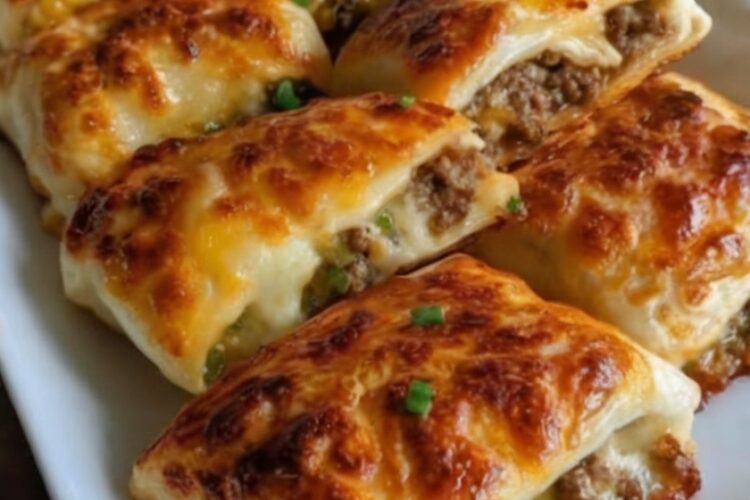
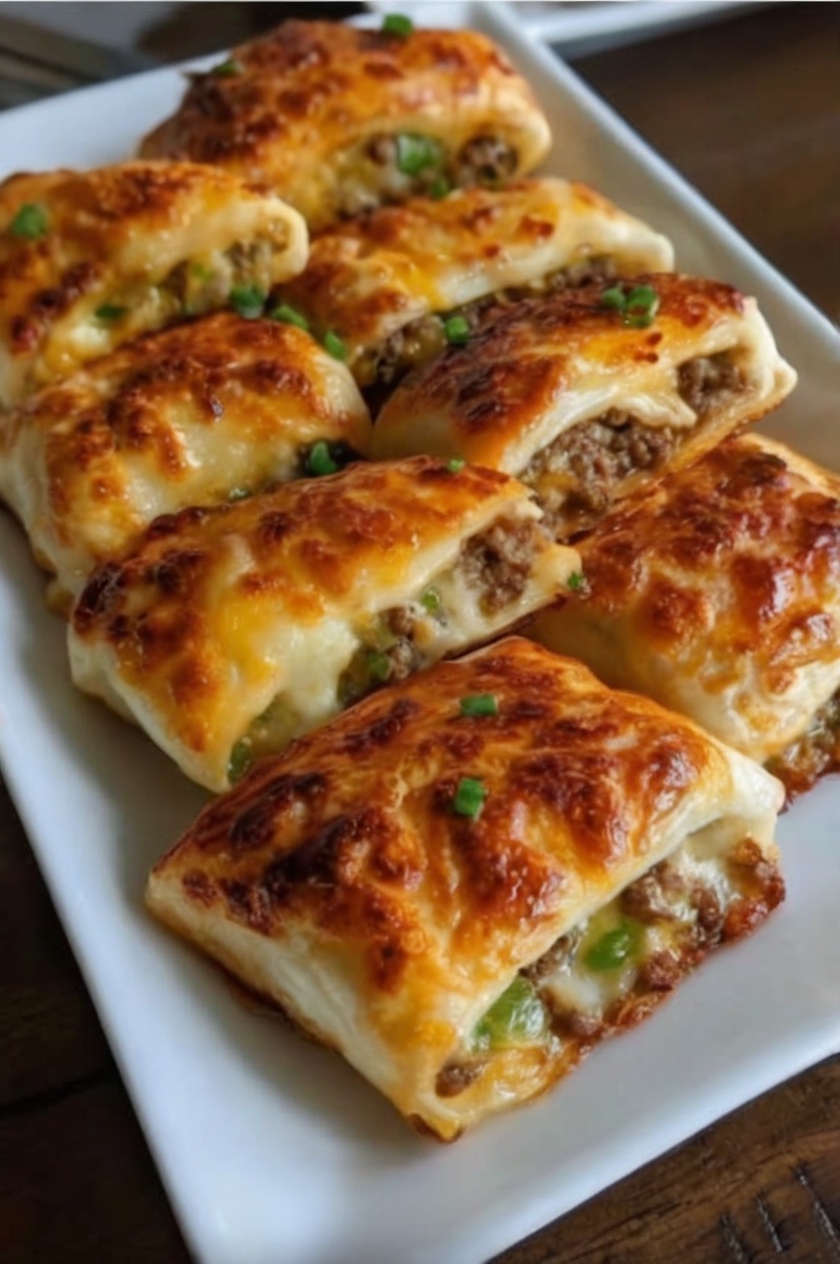
There are taco nights that require setting up a whole buffet of toppings and worrying about shells breaking, and then there's this Cheesy Beef Taco Pockets—the one where you brown ground beef with taco seasoning, mix it with cheese and salsa, wrap it in crescent roll dough, and bake until you have eight golden, handheld pockets of everything you love about tacos without any of the mess. No shells falling apart. No toppings sliding everywhere. No plates required if you don't want them. Just pick up a pocket and bite into flaky, buttery dough giving way to cheesy, seasoned beef filling that stays perfectly contained inside.
What makes this recipe genuinely brilliant is how the crescent roll dough creates these beautiful, flaky pockets that seal completely when you crimp the edges with a fork—no leaking, no spilling, just perfectly contained deliciousness. The ground beef gets all that taco flavor from the seasoning. The cheese melts into gooey perfection. And draining the salsa before adding it means you get all that fresh, zesty flavor without the moisture that would make the dough soggy. This is the weeknight dinner that feels like a fun treat, the lunchbox addition that makes you the coolest parent, the game day snack that disappears before halftime.
Why You'll Love This Recipe
- Everything you love about tacos in handheld form
- No messy taco shells breaking apart
- Ready in 30 minutes from start to finish
- Perfectly portable for lunches or parties
- Crescent dough creates flaky layers without effort
- Fork-crimped edges seal completely to prevent leaks
- Great for meal prep—freezes beautifully
- Kid-friendly and fun to assemble together
- Customizable filling based on what you have
- The kind of dinner that makes everyone happy
Ingredients
Makes 8 pockets
The Filling:
- 1 lb ground beef (85/15 blend)
- 1 (1 oz) packet taco seasoning (or 2 tablespoons homemade)
- ¼ cup water
- 1 cup shredded cheddar or Mexican blend cheese
- ½ cup salsa, well-drained (or ¼ cup finely diced tomatoes, patted dry)
Optional Add-Ins:
- 2 tablespoons finely chopped onion
- ¼ cup black beans (rinsed and dried)
- 2 tablespoons corn
- 1 tablespoon diced green chiles
The Pocket:
- 1 (8 oz) tube refrigerated crescent roll dough (8 triangles)
- 1 egg beaten with 1 tablespoon water (optional egg wash for shine)
Equipment
- Large skillet
- Baking sheet
- Parchment paper
- Fork
- Spoon
- Paper towels
- Pastry brush (optional, for egg wash)
- Cooling rack
Step-by-Step Instructions
Step 1: Make the Filling
Heat a large skillet over medium heat and add the ground beef. Break it apart with a wooden spoon and cook for 6-8 minutes until completely browned with no pink remaining. Drain off all but about 1 teaspoon of the fat—that little bit adds flavor without making things greasy. Stir in the taco seasoning and water, then simmer for 2-3 minutes until the mixture thickens and the seasoning is evenly distributed throughout the beef.
Step 2: Add Cheese and Salsa
Remove the skillet from the heat. This is crucial: make sure your salsa is well-drained. Place it on a paper towel and press gently to remove excess moisture—every drop of liquid will make your pockets soggy. Fold the drained salsa, shredded cheese, and any optional add-ins into the seasoned beef. Mix until everything is evenly combined.
Step 3: Cool the Filling
Let the filling cool for at least 5 minutes. This step is non-negotiable. Hot filling will make the dough soggy and difficult to work with, plus it can cause the pockets to burst open during baking. While the filling cools, you can prep your oven and dough.
Step 4: Prep for Assembly
Preheat your oven to 375°F (190°C). Line a baking sheet with parchment paper—this prevents sticking and makes cleanup effortless. Unroll your crescent roll dough and separate it into 8 individual triangles along the perforated lines.
Step 5: Fill the Pockets
Place each dough triangle on your work surface with the wide end closest to you. Spoon 2-3 tablespoons of the cooled filling onto the wide end of each triangle, keeping it away from the edges—you need about a ½-inch border all around for proper sealing. Don't overfill or the pockets will burst.
Step 6: Seal Completely
Fold the dough over the filling from the wide end toward the point, creating a triangle pocket. Press the edges together firmly with your fingers all the way around. Then—and this is key—use a fork to crimp the edges firmly, pressing the tines all the way down. This double-sealing method ensures no leaks during baking.
Step 7: Add Shine (Optional)
If you want that gorgeous golden, bakery-style shine, whisk together the egg and water and brush it lightly over the top of each pocket using a pastry brush. This is optional but makes them look incredible.
Step 8: Bake to Golden Perfection
Arrange the pockets on your prepared baking sheet with a bit of space between them. Bake for 12-15 minutes, rotating the pan halfway through for even browning. You're looking for the dough to be deep golden brown and fully puffed. The pockets should look crispy on top and cooked through on the bottom.
Step 9: Cool Before Eating
Remove from the oven and let the pockets rest for 5 minutes before serving. The filling is molten hot straight from the oven and will burn your mouth if you bite in immediately. Those few minutes also allow the filling to set slightly for cleaner eating.
Pro Tips
- Drain salsa thoroughly. Press it in paper towels to remove every bit of excess moisture. Wet filling = soggy pockets.
- Cool the filling completely. Hot filling makes the dough soggy and can cause bursting during baking.
- Leave a border. Keep filling ½ inch from the edges so you have room to seal properly.
- Seal twice. Press with fingers first, then crimp firmly with a fork for leak-proof pockets.
- Don't overfill. More filling seems better but actually guarantees bursting. Stick to 2-3 tablespoons.
- Freeze for later. Assemble unbaked pockets, freeze on a tray until solid, then transfer to a freezer bag. Bake from frozen, adding 3-5 minutes.
Variations & Substitutions
- Make it breakfast: Use scrambled eggs, cooked sausage or chorizo, cheese, and hash browns instead of beef filling.
- Go vegetarian: Fill with seasoned black beans, corn, cheese, and diced bell peppers.
- Buffalo chicken: Mix shredded cooked chicken with buffalo sauce, cream cheese, and cheddar.
- Pizza pockets: Fill with marinara sauce, mozzarella, and pepperoni.
- Use puff pastry: Cut into 5-inch squares, fill, fold into triangles, seal edges, and bake for 18-20 minutes.
- Add jalapeños: Mix diced jalapeños into the filling for heat.
- Make it BBQ: Use BBQ sauce instead of salsa and add shredded cheddar.
- Try turkey: Ground turkey works great as a lighter alternative to beef.
Serving, Pairing & Storage
How to Serve:
Serve warm with lime wedges, extra salsa, sour cream, guacamole, or avocado crema for dipping. These are perfect finger food that needs no utensils.
What It Pairs Well With:
Mexican rice, refried beans, tortilla chips with guacamole, simple green salad, corn on the cob, or fresh fruit.
Storage:
Store leftover pockets in an airtight container in the refrigerator for up to 3 days. Reheat in a 350°F oven for 8-10 minutes to restore crispiness.
Freezing Instructions:
Assemble unbaked pockets and freeze on a baking sheet until solid, then transfer to a freezer bag for up to 3 months. Bake straight from frozen at 375°F for 15-20 minutes.
Reheating Tips:
Oven: Reheat at 350°F for 8-10 minutes for crispy pockets. Microwave: 45-60 seconds for soft pockets (loses crispiness but still delicious).
Make-Ahead:
Assemble unbaked pockets and refrigerate for up to 4 hours before baking. Add 2 minutes to the baking time.
FAQ
Can I use puff pastry instead?
Yes! Cut puff pastry into 5-inch squares, fill the center, fold into triangles, seal edges with water and a fork, and bake for 18-20 minutes.
My pockets burst open while baking—why?
Either you overfilled them, didn't seal the edges tightly enough, or the filling was too hot. Cool filling completely, leave a border, and crimp edges firmly.
Can I make these ahead?
Absolutely! Assemble unbaked pockets and refrigerate for up to 4 hours, or freeze for up to 3 months. Add a few minutes to baking time if baking from cold or frozen.
Can I make these dairy-free?
Use vegan cheese and check that your crescent roll dough doesn't contain dairy (some brands do).
What if I don't have taco seasoning?
Make your own with 1 tablespoon chili powder, 1 teaspoon cumin, ½ teaspoon each of paprika, garlic powder, and onion powder, plus salt to taste.
Can kids help make these?
Yes! Kids love spooning filling and crimping edges with a fork. It's a great cooking project.
How do I prevent soggy bottoms?
Drain salsa thoroughly, cool filling completely, and don't overfill the pockets.
Cheesy Beef Taco Pockets
Ingredients
Equipment
Method
- Heat large skillet over medium and add ground beef. Break apart with wooden spoon and cook 6-8 minutes until completely browned with no pink. Drain all but 1 teaspoon fat—little bit adds flavor without grease. Stir in taco seasoning and water, simmer 2-3 minutes until thickens and seasoning evenly distributed.
- Remove from heat. Critical: make sure salsa well-drained. Place on paper towel and press gently to remove excess moisture—every drop makes pockets soggy. Fold drained salsa, shredded cheese, and any optional add-ins into seasoned beef. Mix until evenly combined.
- Let filling cool at least 5 minutes. Non-negotiable. Hot filling makes dough soggy and difficult to work with, can cause pockets to burst during baking. While cools, prep oven and dough.
- Preheat oven to 375°F (190°C). Line baking sheet with parchment paper—prevents sticking, effortless cleanup. Unroll crescent dough and separate into 8 triangles along perforated lines.
- Place each dough triangle on work surface with wide end closest. Spoon 2-3 tablespoons cooled filling onto wide end, keeping away from edges—need ½-inch border all around for proper sealing. Don't overfill or pockets burst.
- Fold dough over filling from wide end toward point, creating triangle pocket. Press edges together firmly with fingers all the way around. Key step: use fork to crimp edges firmly, pressing tines all the way down. Double-sealing ensures no leaks during baking.
- Optional: If want gorgeous golden, bakery-style shine, whisk egg and water and brush lightly over top of each pocket. Makes them look incredible.
- Arrange pockets on prepared baking sheet with space between them. Bake 12-15 minutes, rotating pan halfway for even browning. Looking for dough deep golden brown and fully puffed. Should look crispy on top and cooked through on bottom.
- Rest 5 minutes before serving. Filling molten hot straight from oven—will burn mouth immediately. Few minutes also allows filling to set slightly for cleaner eating.
Notes
Cool filling completely—hot filling makes dough soggy and can cause bursting during baking.
Leave border—keep filling ½ inch from edges so room to seal properly.
Seal twice—press with fingers first, then crimp firmly with fork for leak-proof.
Don't overfill—more filling seems better but guarantees bursting. Stick to 2-3 tablespoons.
Freeze for later—assemble unbaked, freeze on tray until solid, transfer to freezer bag. Bake from frozen, add 3-5 minutes.
Breakfast version: Scrambled eggs, cooked sausage or chorizo, cheese, hash browns instead of beef.
Vegetarian: Seasoned black beans, corn, cheese, diced bell peppers.
Buffalo chicken: Shredded cooked chicken with buffalo sauce, cream cheese, cheddar.
Pizza pockets: Marinara sauce, mozzarella, pepperoni.
Puff pastry: Cut into 5-inch squares, fill, fold into triangles, seal edges, bake 18-20 minutes.
Add jalapeños: Mix diced jalapeños into filling for heat.
BBQ version: Use BBQ sauce instead of salsa, add shredded cheddar.
Ground turkey: Works great as lighter alternative to beef.
Puff pastry instead: Yes! Cut into 5-inch squares, fill center, fold into triangles, seal with water and fork, bake 18-20 minutes.
Burst open: Overfilled, didn't seal edges tightly, or filling too hot. Cool completely, leave border, crimp firmly.
Make ahead: Absolutely! Assemble unbaked, refrigerate up to 4 hours or freeze up to 3 months. Add few minutes to baking if cold or frozen.
Dairy-free: Use vegan cheese, check crescent dough doesn't contain dairy (some brands do).
No taco seasoning: Make own with 1 tablespoon chili powder, 1 teaspoon cumin, ½ teaspoon each paprika, garlic powder, onion powder, plus salt.
Kids help: Yes! Kids love spooning filling and crimping edges with fork. Great cooking project.
Prevent soggy bottoms: Drain salsa thoroughly, cool filling completely, don't overfill.
Store leftovers airtight in fridge up to 3 days. Reheat at 350°F for 8-10 minutes to restore crispiness.
Assemble unbaked, freeze on baking sheet until solid, transfer to freezer bag up to 3 months. Bake straight from frozen at 375°F for 15-20 minutes.
Reheat: Oven at 350°F for 8-10 minutes for crispy. Microwave 45-60 seconds for soft (loses crispiness but still delicious).
Serve: Warm with lime wedges, extra salsa, sour cream, guacamole, or avocado crema for dipping. Perfect finger food, no utensils.
Pairs with: Mexican rice, refried beans, tortilla chips with guacamole, green salad, corn on the cob, fresh fruit.