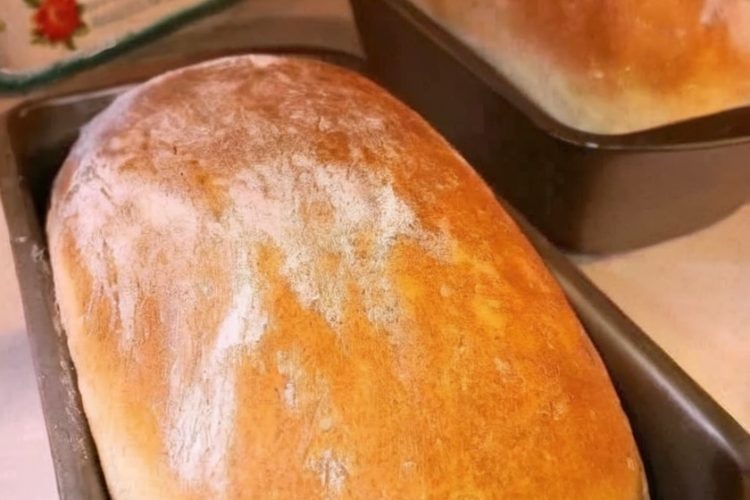
Simple No-Knead Bread Recipe 🥖🔥
If you're looking for a hassle-free way to enjoy fresh, homemade bread without the kneading, this recipe is your new go-to. Just a few ingredients, minimal prep, and a little patience give you a bakery-style loaf with a crisp crust and fluffy center.
Why You’ll Love This Recipe
✔ No Kneading Required – Just mix and let it rise.
✔ Minimal Ingredients – Only 4 pantry staples.
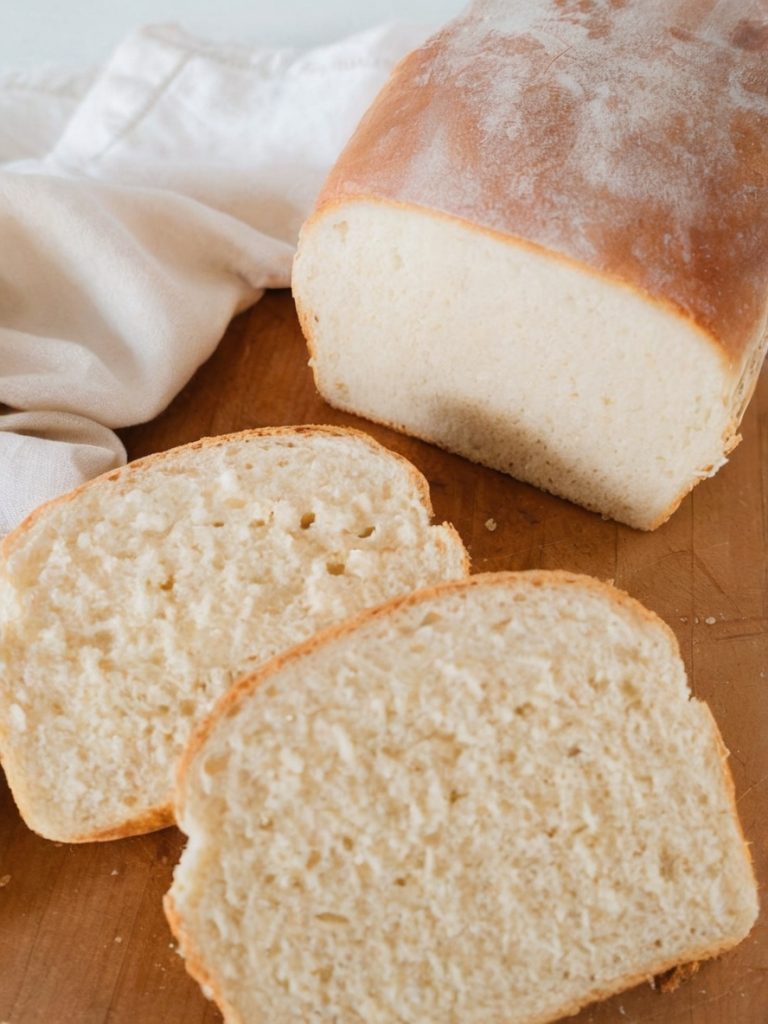
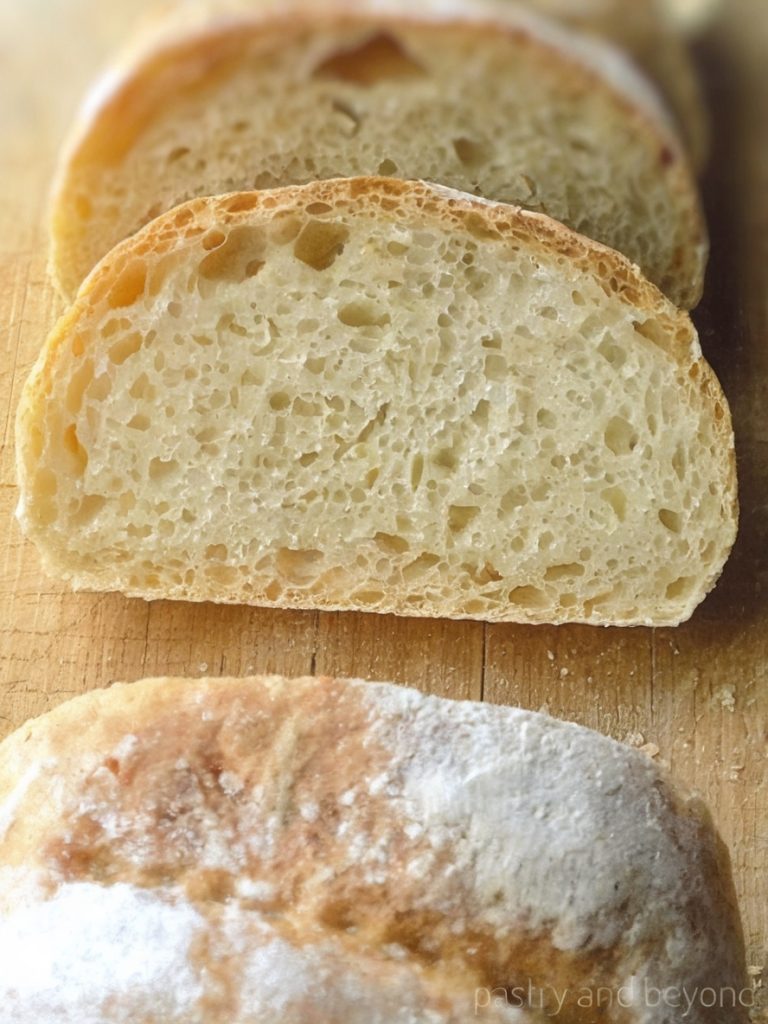
✔ Incredible Texture – Crispy on the outside, soft and airy inside.
✔ Perfect for Beginners – Foolproof and forgiving.
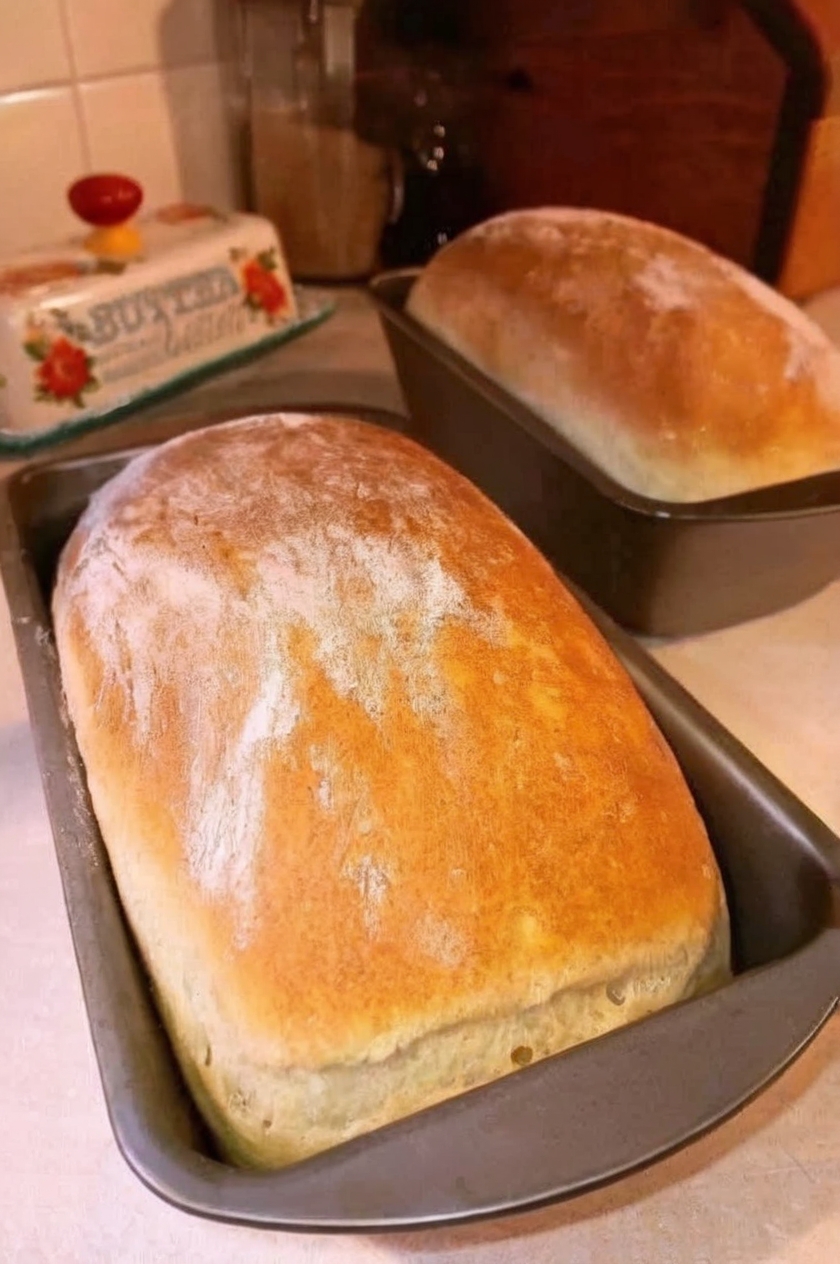
✔ Versatile – Great for toast, sandwiches, or snacking with butter.
Recipe Categories
-
Cuisine: American / European
-
Course: Bread / Side
-
Cooking Method: Baking
-
Difficulty Level: Easy
Kitchen Equipment Needed
✅ Large mixing bowl
✅ Dutch oven or oven-safe pot with lid
✅ Wooden spoon or spatula
✅ Parchment paper (optional)
✅ Cooling rack
No-Knead Bread Recipe
Ingredients
✅ 3 cups all-purpose flour
✅ 1½ cups warm water
✅ 1 teaspoon active dry yeast
✅ 1 teaspoon salt
Step-by-Step Instructions
Step 1: Mix the Dough
In a large bowl, combine flour, salt, and yeast.
Add warm water and stir until a sticky, shaggy dough forms.
No kneading required!
Step 2: Let It Rise
Cover the bowl with plastic wrap or a damp towel.
Let the dough rise at room temperature for 12–18 hours.
It should double in size and look bubbly on the surface.
Step 3: Shape the Dough
Lightly flour your hands and surface.
Turn out the dough and gently shape it into a round loaf.
Let it rest while the oven preheats.
Step 4: Preheat the Oven & Pot
Preheat oven to 450°F (230°C).
Place a Dutch oven (with lid) inside to preheat for 30 minutes.
Step 5: Bake the Bread
Carefully remove the pot from the oven.
Place dough into the pot (use parchment paper or drop it in carefully).
Cover and bake for 30 minutes.
Remove the lid and bake for 10–15 minutes more until golden brown.
Step 6: Cool and Serve
Let the bread cool on a wire rack for at least 30 minutes before slicing.
Enjoy with butter, jam, soups, or any way you like!
Tips for Success
✔ Use Warm Water (Not Hot) – Around 100–110°F is ideal for yeast.
✔ Don’t Skip the Rest Time – The long fermentation gives the bread great flavor and texture.
✔ Dutch Oven Magic – Traps steam to create that perfect crust.
✔ Use Parchment for Easy Transfer – Makes handling sticky dough easier.
✔ Flavor Boost – Add herbs, garlic, or cheese to the dough for variations.
Variations & Add-Ins
🌿 Herb Loaf: Add 1 tsp dried rosemary or thyme.
🧄 Garlic Cheese Bread: Mix in ½ cup shredded cheese + garlic powder.
🌾 Whole Wheat Version: Substitute up to 1 cup of all-purpose flour with whole wheat flour.
🌶 Spicy Twist: Add red pepper flakes and chopped jalapeños.
Storage Tips
📌 Room Temperature: Store in a paper bag or wrapped in a tea towel for up to 2 days.
📌 Freeze It: Slice and freeze in a sealed bag for up to 1 month.
📌 Refresh: Reheat in the oven at 350°F for 5–7 minutes to crisp up.
FAQs
1️⃣ Can I use instant yeast instead of active dry?
Yes! Use the same amount—no proofing needed.
2️⃣ Can I speed up the rise time?
Letting it rise slowly develops better flavor, but you can let it rise in a warm oven (with light on) for 6–8 hours in a pinch.
3️⃣ Do I need a Dutch oven?
It’s ideal for steam baking, but you can use any heavy oven-safe pot with a lid.
4️⃣ Can I add seeds or toppings?
Absolutely! Brush the top with water and sprinkle sesame, poppy, or oats before baking.
5️⃣ How do I know it’s done?
Tap the bottom of the loaf—it should sound hollow.
Simple No-Knead Bread
Ingredients
Equipment
Method
- Mix flour, yeast, and salt in a large bowl. Stir in warm water until a sticky dough forms.
- Cover and let rise at room temperature for 12–18 hours.
- Turn dough onto a floured surface, shape into a ball.
- Preheat oven and Dutch oven to 450°F (230°C).
- Place dough into hot pot, cover, and bake 30 min. Remove lid and bake 10–15 min more.
- Cool on a rack before slicing. Enjoy!
Notes
✔ Use parchment for easier handling
✔ Add herbs or cheese for flavor variety
I've been making this bread for a few years now. When I got the recipe it was for cheese & herb bread. I never thought to make it just white bread! Lol but this recipe has endless possibilities. I've made a bacon, cheddar and onion, and subbed the salt with a garlic salt and then also made a sweet bread with apples, brown sugar and cinnamon 😋 it was heavenly as French toast. We have a store called Aldi and it has all different kinds of cheeses. Some with cranberries OR blue berries then add the berries. And I always brush the outside with butter. Sometimes butter and garlic and Parmesan with herbs. Best bread ever!