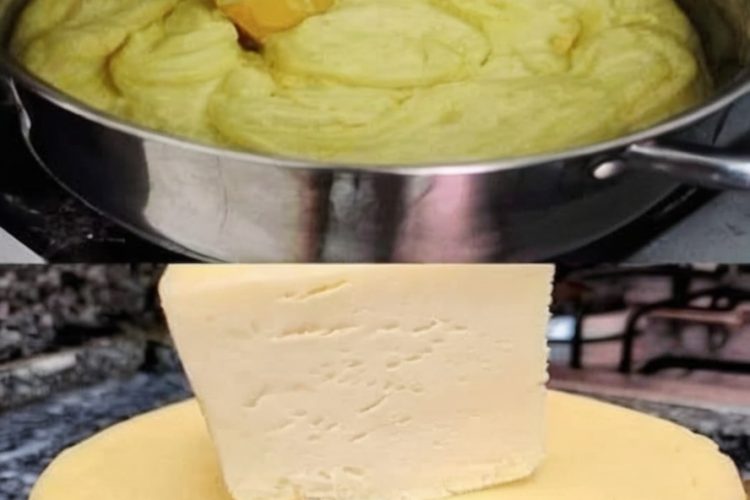
Homemade Cheese Recipe – Fresh, Creamy, and Easy to Make!
If you’ve ever dreamed of making your own cheese at home, you’re going to love how simple and rewarding this Homemade Cheese Recipe is! With just a few fresh ingredients—whole milk, lemon juice or vinegar, and optional herbs—you can create a creamy, rich cheese that's perfect for snacking, cooking, and impressing your family and friends.
Why You’ll Love This Recipe
✔️ Easy and beginner-friendly—no special equipment needed.
✔️ Customizable with herbs, spices, and flavors you love.
✔️ Uses simple, natural ingredients—no additives or preservatives.
✔️ Great way to use fresh, organic milk and reduce food waste.
Recipe Categories
-
Cuisine: American / Global
-
Course: Snack, Appetizer, Ingredient
-
Method: Stovetop
-
Difficulty: Easy
Ingredients
-
1 gallon fresh whole milk (preferably organic)
-
1/4 cup lemon juice or white vinegar (for coagulation)
-
1/4 cup unsalted butter (optional, for creaminess)
-
1 teaspoon salt (adjust to taste)
-
Optional: herbs and spices (basil, thyme, cracked pepper, chili flakes)
Step-by-Step Instructions
Step 1: Heat the Milk
-
Pour the milk into a large, heavy-bottomed saucepan.
-
Slowly heat over medium, stirring occasionally to prevent scorching.
-
Bring the milk up to about 180°F (82°C)—it should steam but not boil.
Step 2: Coagulate the Milk
-
Add the lemon juice or vinegar to the hot milk.
-
Stir gently and watch as curds begin to form.
-
If curds don't appear, add a little more acid.
-
Cover the pot and let sit undisturbed for 10–15 minutes.
Step 3: Separate the Curds and Whey
-
Line a colander with cheesecloth or a clean towel.
-
Carefully pour the curds and whey into the colander.
-
Allow the whey to drain for 10–15 minutes or until desired texture is reached.
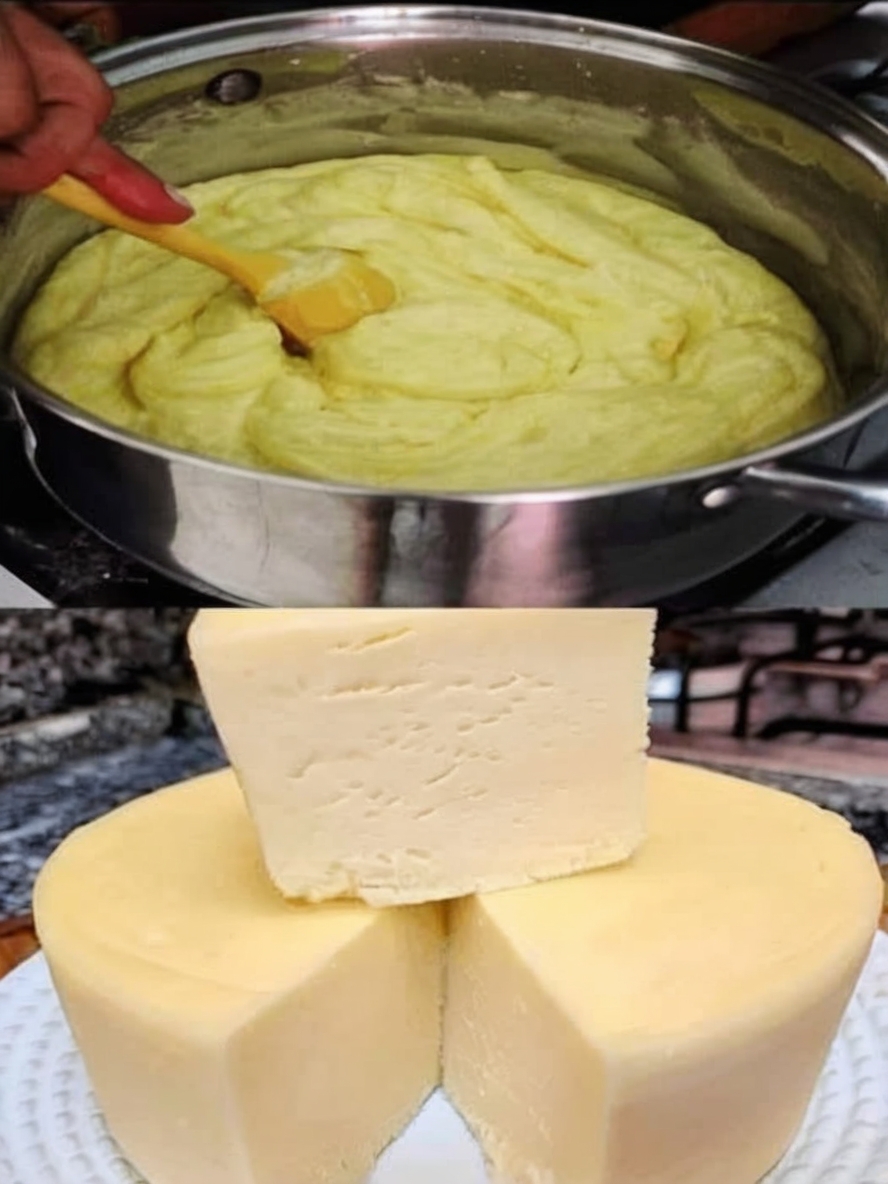
Step 4: Flavor and Mix the Cheese
-
Transfer drained curds to a mixing bowl.
-
Stir in the butter (for added creaminess) and salt.
-
Add any desired herbs or spices for extra flavor.
Step 5: Shape and Set
-
Transfer cheese into clean cheesecloth, forming it into a block or ball.
-
Wrap the cheese tightly and place it under a weight to remove excess whey.
-
Refrigerate for 4–6 hours or overnight.
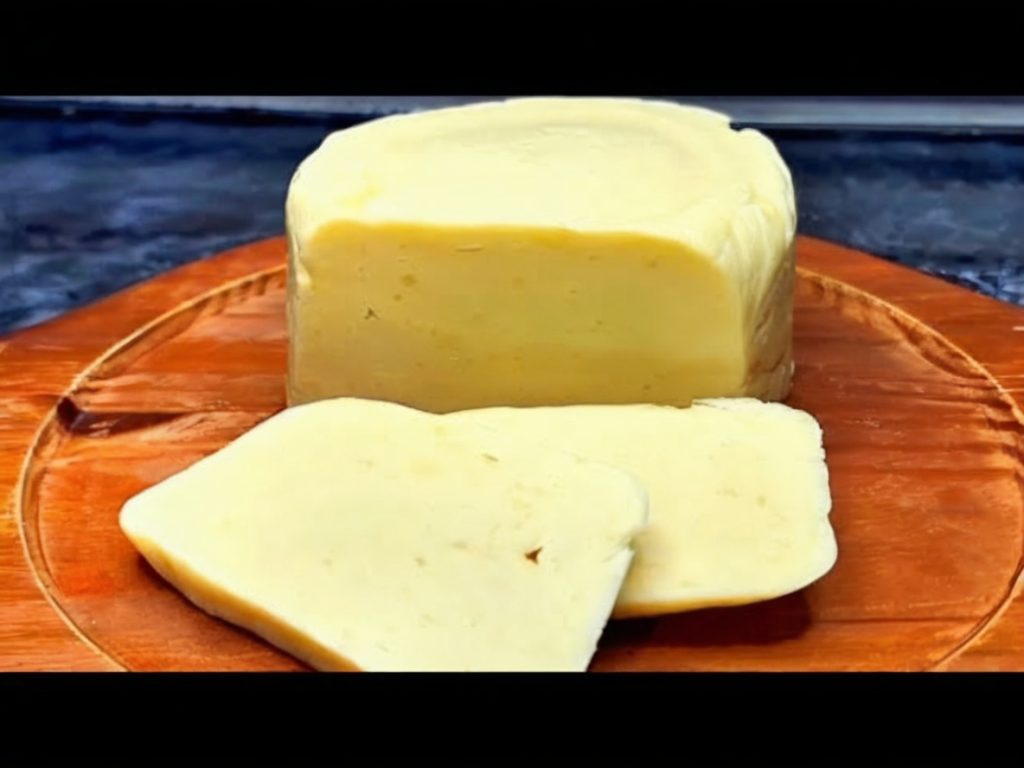
Step 6: Slice and Serve
-
Once set, unwrap and slice or crumble your homemade cheese.
-
Enjoy it fresh, over salads, on pizzas, or as a snack!
Tips for Success
-
Use the freshest milk you can find—preferably non-UHT pasteurized.
-
Flavor ideas: Mix in dried herbs, garlic powder, chili flakes, or cracked pepper.
-
Save the whey: Use it for smoothies, baking, soups, or risotto.
-
Experiment: Try using yogurt as the coagulant for a different flavor profile.
Flavor Variations
-
Herb Cheese: Add dried oregano, thyme, or parsley.
-
Garlic Pepper Cheese: Mix in minced garlic and cracked black pepper.
-
Spicy Chili Cheese: Stir in fresh chopped chilies or chili flakes for a kick.
Storage & Preservation
-
Fridge: Store tightly wrapped homemade cheese in the refrigerator for up to 1 week.
-
Salt Brine (Optional): Place cheese in a light saltwater brine to prolong freshness and maintain moisture.
Nutritional Information (per 1 oz serving)
-
Calories: ~80 kcal
-
Carbohydrates: ~1g
-
Protein: ~5g
-
Fat: ~7g
-
Sodium: ~80mg
(Note: Nutrition values are approximate.)
Homemade Cheese Recipe
Ingredients
Equipment
Method
- Heat milk to 180°F (82°C).
- Stir in lemon juice or vinegar and let curdle.
- Drain through cheesecloth.
- Mix with butter, salt, and herbs (optional).
- Shape, press, and chill for 4–6 hours.
- Slice and enjoy!