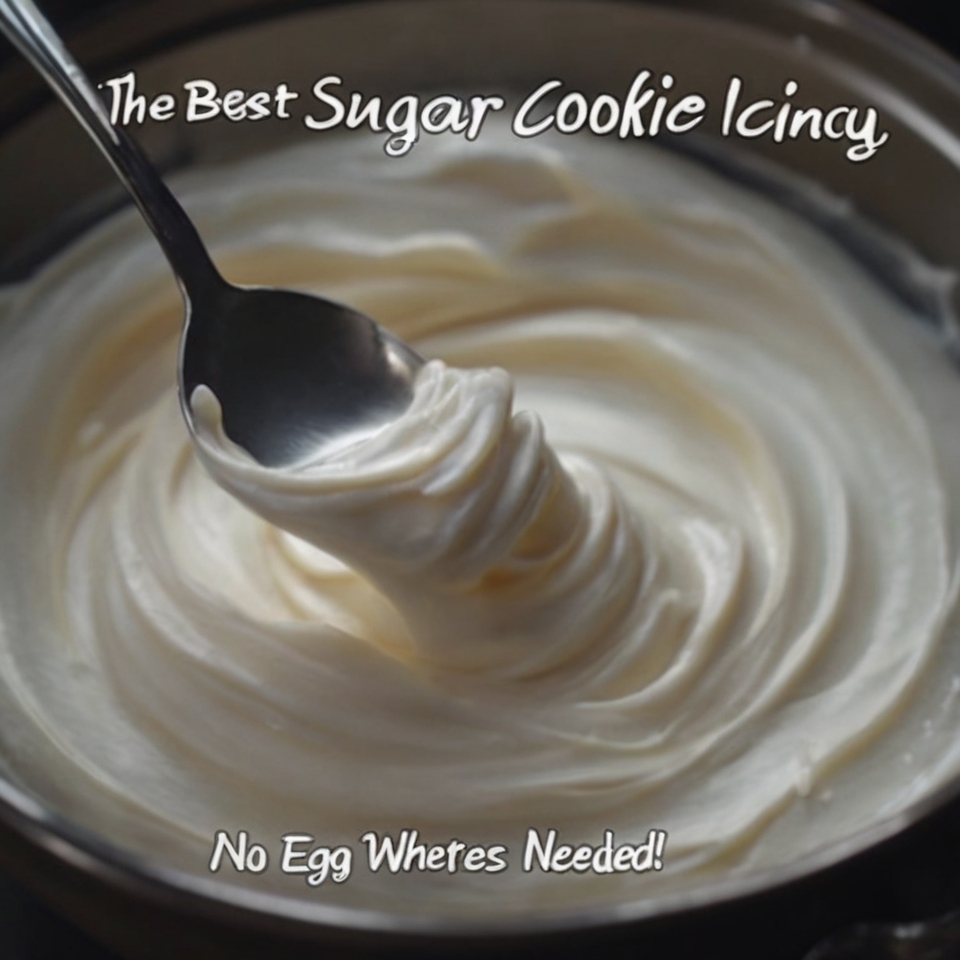
Never-Cracks-a-Tooth Buttercream for Perfect Cookie Piping
There’s a very specific heartbreak that only cookie decorators understand: you spend hours piping the prettiest cookies of your life… only to bite into one and feel like you’re chewing chalk. Too stiff. Too sweet. Too dry. Pretty, yes — but completely unenjoyable.
This buttercream fixes all of that.
It pipes like a dream, holds crisp details, takes color beautifully, and dries firm enough to stack — without turning rock-hard. After 24 hours, your cookies are neat, transportable, and still tender when bitten. No cracked teeth. No cardboard texture. Just smooth, creamy, actually-delicious icing that finally lets your decorating skills shine and your cookies get eaten.
If you decorate cookies even once a year, this is the buttercream you want in your back pocket.
Why You’ll Love This Recipe
- Pipes smoothly with sharp, clean edges
- Dries firm enough for stacking and packaging
- Never turns tooth-cracking hard
- Takes gel color beautifully without thinning
- Balanced sweetness — not cloying
- Perfect for holiday cookies, birthday cookies, and detailed designs
- Reliable, repeatable results every time
Ingredients
Makes enough for a large batch of decorated cookies
- 1 cup (226 g / 2 sticks) unsalted butter, softened to room temperature
- 3–4 cups (360–480 g) powdered sugar, sifted
- ¼ cup (60 ml) light corn syrup or glucose syrup
- 1–2 Tbsp milk or heavy cream (start with 1 Tbsp)
- 1 tsp vanilla extract
- Pinch of salt
Equipment Needed
- Stand mixer or hand mixer
- Paddle attachment (preferred)
- Spatula
- Sifter
- Mixing bowls
- Piping bags and tips
Step-by-Step Instructions
1. Cream the Butter
Place softened butter in the bowl of a stand mixer fitted with the paddle attachment (or use a hand mixer). Beat on medium speed for 3–5 minutes until very pale, fluffy, and smooth. This step sets the texture — don’t rush it.
2. Add Powdered Sugar Gradually
With the mixer on low speed, add sifted powdered sugar one cup at a time, mixing just until combined after each addition. This prevents air pockets and keeps the buttercream smooth.
3. Add the Key Ingredients
Add corn syrup, vanilla extract, and salt. Mix on low until incorporated.
4. Whip Until Light and Silky
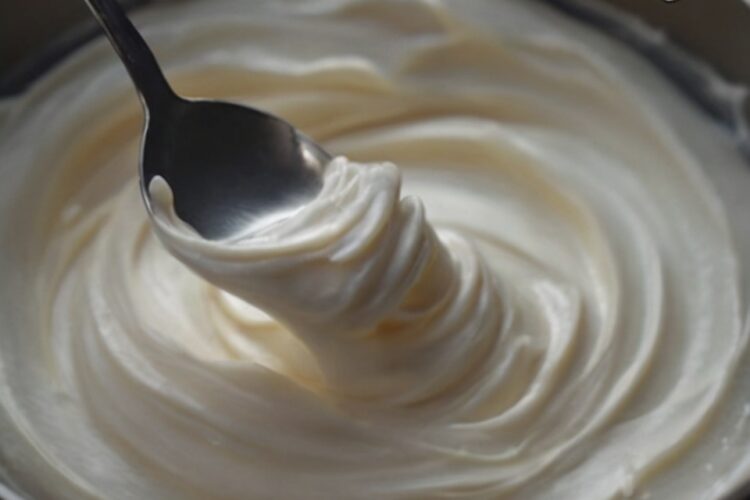
Increase mixer speed to medium-high and beat for 5–7 minutes. The buttercream should become noticeably lighter, smoother, and almost mousse-like.
5. Adjust Consistency
Add milk or cream 1 tablespoon at a time until you reach a smooth, pipeable consistency. It should hold peaks but flow easily through piping tips.
6. Color and Flavor
Divide buttercream as needed. Add gel food coloring (recommended) and mix gently until evenly colored. Avoid liquid food coloring — it weakens structure.
7. Decorate
Transfer buttercream to piping bags and decorate cookies as desired. This icing works beautifully for outlines, details, and decorative textures.
8. Drying Time
Let decorated cookies dry at room temperature for 24 hours. They will be firm enough to stack and package, yet still soft when bitten.
Pro Tips
- Use room-temperature butter — cold butter causes lumps
- Always sift powdered sugar for ultra-smooth piping
- Gel coloring gives vibrant color without thinning
- Paddle attachment creates fewer air bubbles than a whisk
- If bubbles form, stir gently with a spatula to release them
Variations & Substitutions
- Chocolate buttercream: Replace ½ cup powdered sugar with cocoa powder
- Almond flavor: Swap vanilla for almond extract (use sparingly)
- Dairy-free: Use plant-based butter and almond milk
- Extra-smooth finish: Add 1 extra tablespoon corn syrup
Serving, Pairing & Storage Guide
Serving
- Perfect for sugar cookies, shortbread, gingerbread, and cut-out cookies
Storage
- Store buttercream covered at room temperature up to 24 hours
- Refrigerate up to 1 week — bring to room temp and rewhip
Freezing
- Freeze buttercream up to 2 months
- Thaw overnight in fridge, then rewhip before use
Frequently Asked Questions
Will this buttercream dry hard?
It dries firm enough to stack but stays tender when bitten.
Can I use this under fondant?
Yes — it creates a smooth, stable base.
Why add corn syrup?
It improves elasticity, smoothness, and prevents crusting too hard.
Can I reduce the sugar?
You can, but structure and drying time may be affected.
Is this good for hot weather?
It holds better than standard buttercream, but keep cookies cool once decorated.
Never-Cracks-a-Tooth Buttercream for Perfect Cookie Piping
Ingredients
Equipment
Method
- Beat butter until light and fluffy.
- Gradually add powdered sugar on low speed.
- Add corn syrup, vanilla, and salt.
- Beat on medium-high until smooth and fluffy.
- Adjust consistency with milk or cream.
- Color, pipe, and decorate cookies.
- Let dry 24 hours before stacking.
Notes