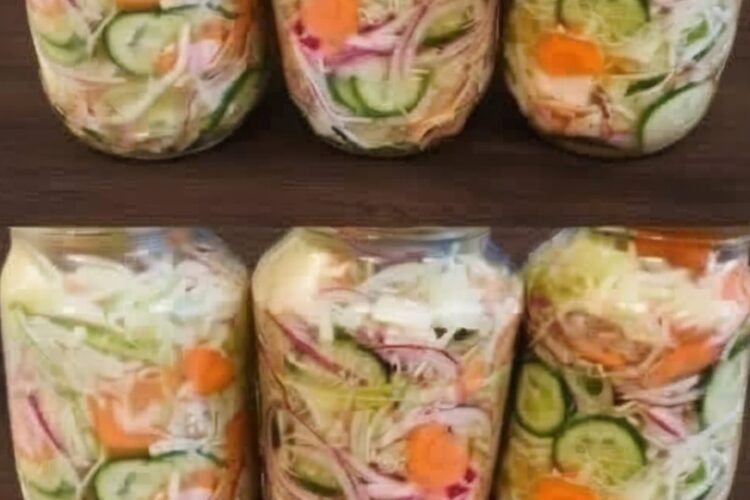
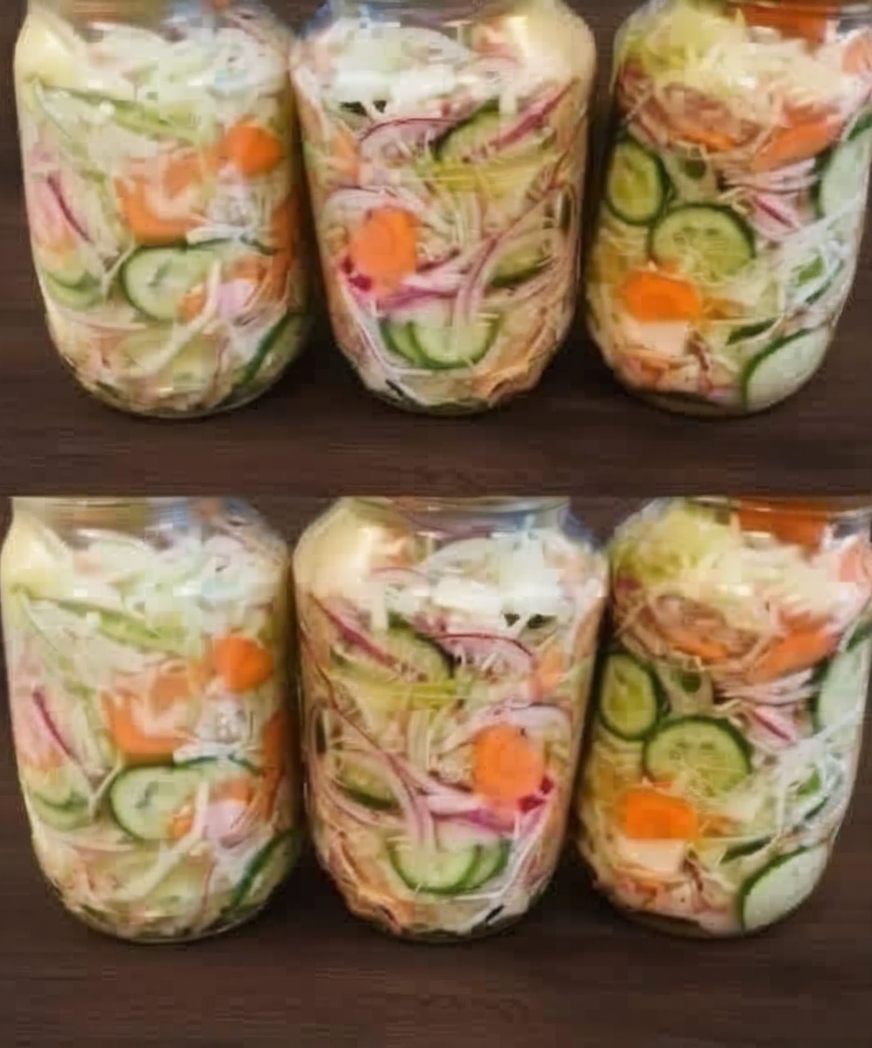
Homemade Pickled Vegetable Jars (Crisp, Tangy and Easy Refrigerator Pickles)
There’s something deeply satisfying about opening a jar of homemade pickled vegetables — that sharp, tangy aroma, the vibrant colors, and the perfect crunch in every bite. These easy refrigerator pickles turn simple fresh vegetables into bold, flavor-packed additions you can use all week long.
Whether you’re topping sandwiches, adding brightness to salads, building a charcuterie board, or elevating tacos, these pickled vegetables bring balance and freshness to any dish. The best part? No canning equipment, no complicated steps — just a simple brine and a little patience.
This method is perfect for beginners and seasoned home cooks alike, offering a reliable way to preserve vegetables while enhancing their flavor.
Why This Pickled Vegetable Recipe Works So Well
The secret to great pickles lies in the perfect brine ratio:
- Vinegar provides acidity and preservation
- Water balances the sharpness
- Salt enhances flavor and texture
- Sugar rounds everything out
Because this is a refrigerator pickling method, the vegetables are not heat-processed, which means they stay crisp, fresh, and vibrant. You also have full control over ingredients, avoiding preservatives and unnecessary additives.
Why You’ll Love These Pickled Vegetables
- No canning required
- Ready in as little as 24 hours
- Crisp texture with bold flavor
- Customizable with different vegetables and spices
- Budget-friendly and zero waste
- Perfect for meal prep
- Naturally preserved without additives
- Great for sandwiches, salads, and snacks
- Beginner-friendly and quick
- Long-lasting in the refrigerator
Ingredients (Per Pint Jar)
Vegetables
- 2 cups fresh vegetables (cucumbers, carrots, cauliflower, onions, radishes, green beans, or peppers)
Brine
- ½ cup white vinegar or apple cider vinegar
- ½ cup water
- 1 tablespoon sugar
- 1 teaspoon kosher or pickling salt
Flavorings
- 1 garlic clove, smashed
- ½ teaspoon black peppercorns
- ½ teaspoon mustard seeds
- ¼ teaspoon red pepper flakes (optional)
- Fresh dill or herbs
Equipment Needed
- Glass jars with lids
- Small saucepan
- Knife and cutting board
- Spoon or chopstick
Step-by-Step Instructions
Step 1: Prepare the Vegetables
Wash all vegetables thoroughly.
Cut into uniform sizes:
- Cucumbers into spears or rounds
- Carrots into sticks
- Cauliflower into florets
- Onions into thin slices
Pack tightly into clean jars, leaving about 1 inch of space at the top.
Step 2: Add Flavorings
Add garlic, peppercorns, mustard seeds, red pepper flakes, and herbs into each jar.
Distribute evenly so flavors infuse throughout.
Step 3: Make the Brine
In a saucepan, combine vinegar, water, sugar, and salt.
Bring to a boil and stir until dissolved.
Step 4: Fill the Jars
Pour hot brine over vegetables until fully covered.
Leave about ½ inch space at the top.
Use a spoon or chopstick to release air bubbles.
Step 5: Seal and Cool
Wipe jar rims clean and seal tightly.
Let jars cool at room temperature for about 1 hour.
Step 6: Refrigerate
Place jars in the refrigerator.
Let sit for:
- Minimum: 24 hours
- Best flavor: 48–72 hours
Popular Pickled Vegetable Combinations
Classic Dill Pickles
Cucumbers, garlic, dill, peppercorns
Spicy Carrots
Carrots, garlic, red pepper flakes
Pickled Red Onions
Red onions, apple cider vinegar, oregano
Garden Mix
Cauliflower, green beans, peppers, mustard seeds
Pro Tips for Perfect Pickles
- Use kosher or pickling salt only
- Cut vegetables evenly for consistent texture
- Do not reuse brine
- Add grape leaves or calcium chloride for extra crunch
- Always use clean, non-reactive containers
- Ensure vegetables stay submerged in brine
Variations and Customizations
- Add turmeric for color and flavor
- Use honey instead of sugar
- Add ginger for a fresh twist
- Include bay leaves for depth
- Try different vinegars for unique profiles
- Add citrus peel for brightness
How to Use Pickled Vegetables
- Sandwiches and burgers
- Salads and grain bowls
- Tacos and wraps
- Charcuterie boards
- Snacking straight from the jar
Storage Instructions
Refrigerator
Store for up to 2 months.
Important Notes
- Keep vegetables fully submerged
- Always use clean utensils when serving
Frequently Asked Questions
Can I reuse the brine?
No, it loses acidity and flavor.
Why are my pickles cloudy?
Likely from table salt — use pickling salt.
Can I pickle any vegetable?
Yes, most vegetables work well.
How long do they last?
Up to 2 months refrigerated.
Homemade Pickled Vegetable Jars
Ingredients
Equipment
Method
- Prepare vegetables
- Add to jars
- Make brine
- Pour over vegetables
- Seal and cool
- Refrigerate 24–72 hours
Notes
Do not reuse brine
Customize flavors easily
Best after 48 hours
Final Thoughts
These homemade pickled vegetable jars are one of the easiest ways to elevate everyday meals. With just a simple brine and fresh ingredients, you can create bold, crunchy, flavorful additions that last for weeks.
Once you start making your own pickles, it becomes less about preserving food… and more about creating something fresh, vibrant, and completely your own.