
3-Ingredient Peanut Butter Fudge – Creamy, Old-Fashioned, and Dangerously Easy
My grandmother used to make this every single Christmas, and the smell alone would have us kids hovering around the kitchen like little vultures. I finally asked her for the recipe last year, and when she told me it was only three ingredients, I thought she was messing with me. She wasn’t.
This peanut butter fudge is dangerously simple. Like, so simple you’ll wonder why you ever bought fudge from anywhere else. It’s creamy, melts on your tongue, and has that perfect sweet-salty peanut butter flavor that makes you reach for “just one more piece” about seven times in a row. I made a batch last weekend and my husband ate four pieces before dinner. No shame. None.
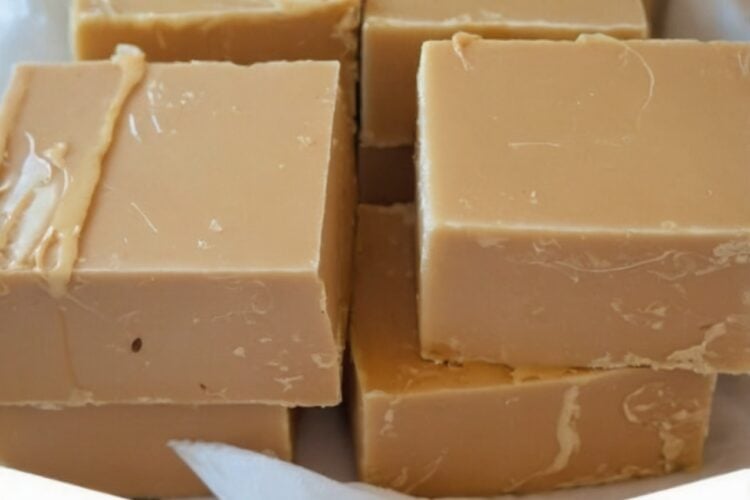
The texture is perfectly creamy with just a little bit of that classic fudge crumble. It’s sweet, rich, and tastes exactly like childhood. Fair warning: this stuff disappears fast. I’m talking gone-in-24-hours fast. You might want to hide a few pieces for yourself before anyone else finds out you made it.
This is the fudge I now make for holiday trays, teacher gifts, and any time a peanut butter craving hits hard. Three ingredients, one saucepan, and about ten minutes of active time. Once you taste how creamy and nostalgic it is, the store-bought version starts to feel unnecessary.
Why You’ll Love This Recipe
You will love this three-ingredient peanut butter fudge because it delivers classic homemade fudge flavor with almost zero effort. No candy thermometer, no complicated stages, no long list of ingredients. Just sugar, milk, and peanut butter transformed into creamy, melt-in-your-mouth squares.
You will love how reliable and practical it is. The method is straightforward: boil, stir, pour, cool. It sets firmly enough to cut cleanly yet stays soft and creamy. It travels well, packages beautifully for gifts, and keeps for days. It is perfect for holiday trays, last-minute desserts, or satisfying a sudden sweet craving.
You will love the flavor and texture. The peanut butter shines through with its natural salty-sweet character. The fudge is smooth and rich with just enough classic crumbly edge when you bite into it. Every piece tastes like the fudge you remember from childhood Christmases.
Most of all, you will love the reactions. This is the fudge that makes people ask for the recipe immediately. It is the one that vanishes from the plate while no one is looking. In a world of complicated candies, a three-ingredient fudge this good is pure nostalgia and pure joy.
Why This Recipe Works
The success of this fudge lies in a short, controlled boil that dissolves the sugar completely and concentrates the mixture just enough to set properly once cooled. Boiling the sugar and milk together for exactly 2½ minutes creates the right sugar concentration without requiring a thermometer. The rolling boil ensures the sugar is fully dissolved so the finished fudge is smooth rather than grainy.
Removing the pan from the heat before adding the peanut butter prevents the mixture from becoming oily or separating. Stirring the peanut butter into the hot sugar syrup allows it to melt completely and emulsify into a glossy, uniform mixture. Pouring into a prepared pan and cooling undisturbed lets the fudge set into a firm yet creamy consistency that slices cleanly.
These simple principles—precise boiling time, off-heat incorporation of peanut butter, and proper cooling—produce classic peanut butter fudge with reliable results and almost no equipment.
Ingredient Breakdown
Granulated Sugar (2 cups) Sugar provides the structure and sweetness of the fudge. Cooking it with the milk dissolves it completely and creates the concentrated syrup that sets into fudge.
Milk (½ cup) Milk dissolves the sugar and contributes a small amount of richness and creaminess. Whole milk gives the best texture, but 2% also works.
Creamy Peanut Butter (1 cup) Peanut butter is the star flavor and provides the fat and protein that give the fudge its creamy, melt-in-your-mouth quality. Standard creamy commercial peanut butter (not natural, which can separate) produces the most reliable, smooth results.
Kitchen Equipment
A medium saucepan, a wooden spoon or heat-resistant spatula, an 8×8-inch pan, parchment paper, a timer, and a sharp knife are all you need. That is the complete practical list.
Step-by-Step Instructions
Line an 8×8-inch pan with parchment paper, leaving an overhang on two sides for easy removal. Set aside.
In a medium saucepan over medium heat, combine the sugar and milk. Stir constantly until the sugar dissolves and the mixture comes to a full rolling boil.
Once boiling, stop stirring and let the mixture boil for exactly 2½ minutes. Set a timer—this timing is important for proper setting.
Remove the pan from the heat immediately. Add the creamy peanut butter and stir vigorously until the mixture is completely smooth, glossy, and uniform.
Pour the fudge into the prepared pan and spread it into an even layer with a spatula.
Let the fudge cool completely at room temperature until firm, about 2 hours (or longer if your kitchen is warm).
Lift the fudge out using the parchment overhang and cut into squares with a sharp knife. Wipe the knife clean between cuts for the neatest edges.
Store in an airtight container.
Expert Tips
- Use a timer for the 2½-minute boil—accuracy matters for the final texture.
- Stir constantly until the mixture reaches a rolling boil so the sugar dissolves fully.
- Do not stir during the 2½-minute boil to avoid crystallization.
- Remove from heat before adding the peanut butter so it incorporates smoothly.
- Stir the peanut butter in thoroughly until no streaks remain and the mixture is glossy.
- Line the pan with parchment for easy removal and clean cuts.
- Let the fudge cool completely undisturbed for the best set.
- A sharp knife wiped clean between cuts gives neat squares.
- Standard creamy peanut butter (not natural) produces the most reliable texture.
- For cleaner cuts, chill the fudge briefly in the refrigerator after it has set at room temperature.
- Double the recipe and use a 9×13-inch pan for larger batches or gifting.
- Work fairly quickly once the peanut butter is added—the mixture begins to set as it cools.
- Store with parchment between layers so the pieces do not stick together.
- Hide a few pieces for yourself—the batch disappears fast.
Common Mistakes to Avoid
- Not boiling long enough. The fudge may stay too soft and not set properly.
- Boiling longer than 2½ minutes. The fudge can become hard or grainy.
- Stirring during the boiling time. This can cause sugar crystals and a grainy texture.
- Adding the peanut butter while the pan is still over heat. It can separate or become oily.
- Using natural peanut butter that has separated. The oil can make the fudge greasy or soft.
- Pouring into an unlined pan. Removal and cutting become much harder.
- Cutting before the fudge is fully firm. The squares will be messy.
- Using a pan that is too large. The fudge will be too thin.
- Scraping the sides of the pan during the boil if crystals have formed. This can seed more crystals.
- Expecting the exact texture of chocolate fudge. Peanut butter fudge is creamy with a slight classic crumb.
- Storing uncovered. The fudge can dry out or absorb odors.
- Scaling the recipe without adjusting pan size. Thickness affects setting and texture.
- Using cold milk straight from the fridge without stirring well as it heats.
- Rushing the cooling process. Room-temperature setting produces the best texture.
Ingredient Substitutions
Whole milk can be replaced with 2% milk; the fudge will still set well.
Creamy peanut butter can be replaced with crunchy peanut butter for added texture.
Sugar can be replaced with an equal amount of coconut sugar, though the color and flavor will change slightly.
For a chocolate-peanut butter version, stir in ½ cup chocolate chips after the peanut butter has melted and the mixture is smooth.
Recipe Variations
- Chocolate Peanut Butter Fudge – Stir in ½–¾ cup chocolate chips after the peanut butter until melted and smooth.
- Crunchy Version – Use crunchy peanut butter or stir in chopped roasted peanuts.
- Salted Peanut Butter Fudge – Sprinkle flaky sea salt on top while the fudge is still soft.
- Peanut Butter Cup Style – Press mini peanut butter cups into the top of the warm fudge.
- Maple Peanut Butter – Replace ¼ cup of the sugar with maple syrup (the texture may be slightly softer).
- Vanilla Bean – Add 1 teaspoon vanilla extract with the peanut butter.
- Spicy Version – Add a pinch of cayenne or chili powder for a sweet-heat contrast.
- Cookie Butter Twist – Replace half the peanut butter with cookie butter or Biscoff.
- White Chocolate Swirl – Melt white chocolate and swirl it into the top before the fudge sets.
- Holiday Peppermint – Add a few drops of peppermint extract and top with crushed candy canes.
- Double Batch Gift Fudge – Double the recipe and pour into a 9×13 pan for more pieces.
- Nutella Swirl – Swirl a few tablespoons of Nutella into the warm fudge before it sets.
- Protein Boost – Stir in a scoop of vanilla or peanut butter protein powder (texture will be denser).
Make It Healthier
This fudge is a classic sweet treat. For a slightly lighter approach, cut smaller squares and enjoy one or two as a satisfying portion. Natural peanut butter can be used if well stirred, though the texture may be softer. Pairing a small piece with a handful of berries or a cup of tea can make the treat feel more balanced. Enjoy it as an occasional nostalgic indulgence rather than an everyday snack.
Meal Prep Guide
This fudge is ideal for making ahead. Prepare it a day or two before you need it—the texture improves as it sits. It packages beautifully for gifts and keeps well at room temperature or in the refrigerator. Make a double batch during the holidays and store portions in the freezer for future cravings or unexpected guests. The short ingredient list and simple method make it one of the easiest candies to prepare in advance.
Storage
Store the fudge in an airtight container at room temperature for up to one week or in the refrigerator for up to two weeks. Place parchment paper between layers to prevent sticking. Keep it covered so it does not dry out or absorb other flavors.
Freezing
Peanut butter fudge freezes extremely well for up to three months. Cut into squares, freeze in a single layer, then transfer to a freezer bag or airtight container with parchment between layers. Thaw at room temperature or in the refrigerator. The texture remains creamy and delicious after freezing.
Reheating
This fudge is meant to be served at room temperature or slightly cool. There is no need to reheat it. If it has been refrigerated or frozen, simply let it sit at room temperature until it softens to the desired creamy texture.
What to Serve With It
This fudge is perfect on its own. It shines on holiday dessert trays alongside cookies, truffles, and other candies. Package squares in small tins or cellophane bags for teacher gifts, neighbor gifts, or party favors. A single piece with a cup of coffee or a glass of cold milk makes a simple and satisfying dessert. Leftover squares are excellent tucked into lunchboxes for a sweet surprise.
Beverage Pairings
Cold milk is the classic and most comforting pairing. Hot coffee or espresso cuts the sweetness and complements the peanut butter. Black tea or a rich chai also works well. For a special occasion, a small glass of dessert wine or a nutty amontillado sherry echoes the flavors nicely. Sparkling water with a squeeze of lemon refreshes the palate between pieces.
Frequently Asked Questions
Why do I have to boil for exactly 2½ minutes? The timing ensures the sugar reaches the right concentration so the fudge sets properly without becoming hard or remaining too soft.
Can I use a candy thermometer instead? Yes. The mixture should reach approximately 234–236°F (soft-ball stage), but the timed boil is reliable and simpler.
Why is my fudge grainy? The sugar may not have fully dissolved before boiling, or the mixture was stirred during the boil. Stir only until it reaches a rolling boil, then stop.
Can I use natural peanut butter? You can, but the oils can separate and the texture may be softer or greasier. Standard creamy peanut butter is more reliable.
How long does it take to set? About 2 hours at room temperature. Humidity and exact boiling time can affect this.
Can I double the recipe? Yes. Use a larger saucepan and a 9×13-inch pan. The boiling time stays the same.
Why is my fudge too soft? It may not have boiled long enough. Next time make sure you reach a full rolling boil and time the 2½ minutes accurately.
Why is my fudge too hard? It may have boiled a bit longer than 2½ minutes. Stay close to the suggested time.
Do I need to refrigerate it to set? No. Room-temperature cooling produces the best texture. Refrigeration can be used after it has set for cleaner cuts.
Can I add chocolate? Yes. Stir in chocolate chips after the peanut butter until melted for a chocolate-peanut butter version.
Is this gluten-free? Yes, as long as your peanut butter is gluten-free (most are).
How long does it keep? Up to one week at room temperature or two weeks in the refrigerator. It freezes well for three months.
Can I make it in a microwave? This stovetop method is more reliable for proper sugar concentration and texture.
What size pan is best? An 8×8-inch pan gives the ideal thickness. A 9×9 will produce slightly thinner pieces.
Can I use plant-based milk? Yes, though the texture and set may vary slightly. Whole dairy milk gives the most consistent results.
Nutrition Information
Estimated nutrition per square (based on 36 squares): approximately 90–110 calories, 4–5 g fat, 12–14 g carbohydrates, 2 g protein. Values vary depending on the exact brands used and the size of the squares. These figures are estimates only and are not a substitute for professional nutritional advice. Enjoy this fudge as an occasional sweet treat within a balanced diet.
Final Thoughts
This three-ingredient peanut butter fudge has become one of the recipes I guard almost as carefully as my grandmother did. It is proof that the simplest recipes are often the ones that mean the most and taste the best. Every time I watch the sugar and milk boil and then stir in the peanut butter until it turns glossy and smooth, I am reminded of Christmas kitchens and the joy of a treat that feels special without any fuss.
I hope you make a batch soon—for the holidays, for a gift, or simply because a creamy piece of peanut butter fudge sounds perfect. I hope it sets up with that ideal soft-yet-firm texture, and I hope the first square makes someone in your kitchen reach for a second before they have even finished the first. If you try it, I would love to know how quickly it disappeared and whether you managed to hide a few pieces for yourself. From my kitchen to yours—creamy, nostalgic, and pure three-ingredient magic.
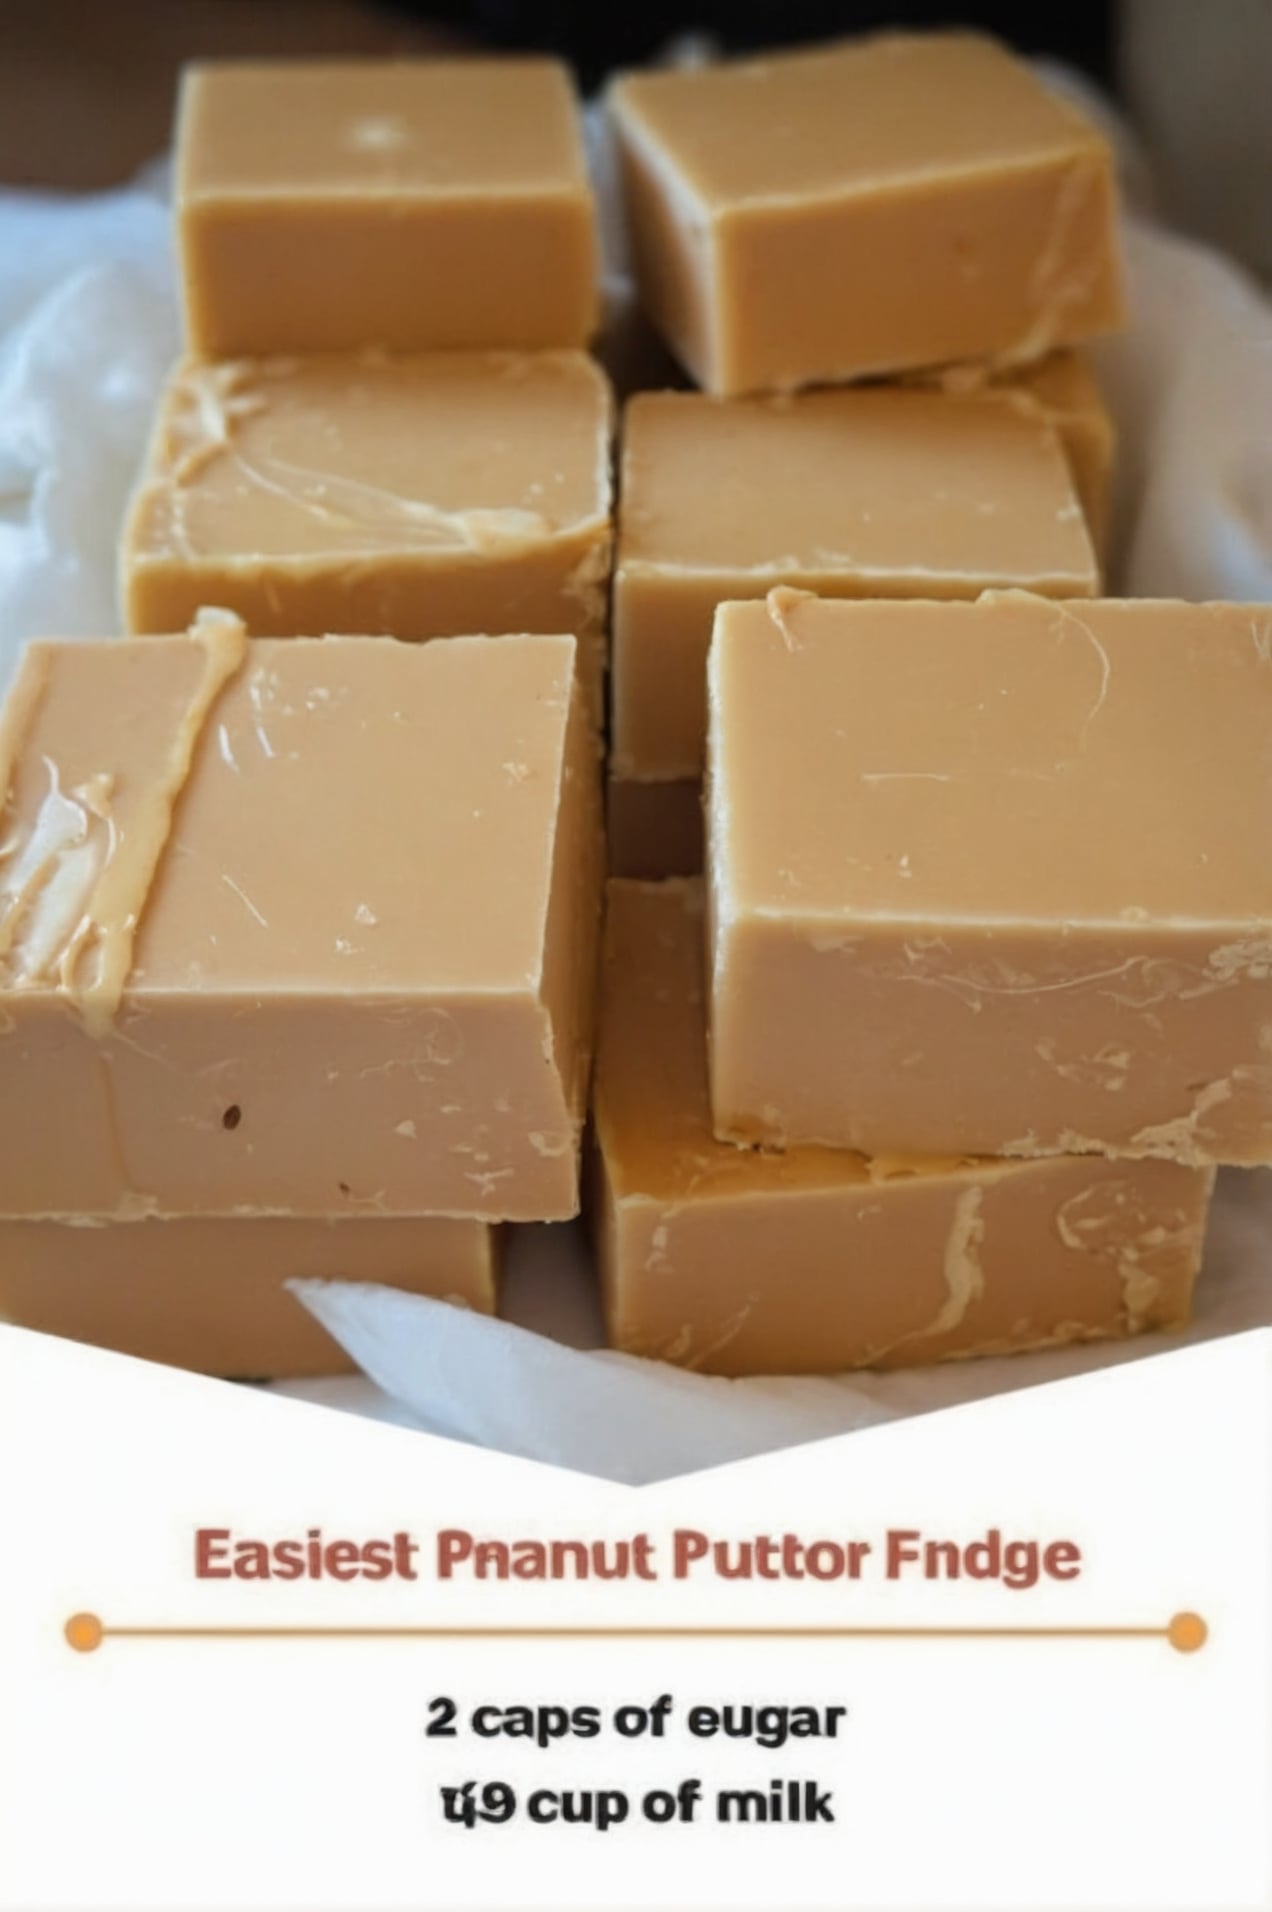
three-ingredient peanut butter fudge
Ingredients
Equipment
Method
- Line an 8×8-inch pan with parchment paper.
- In a medium saucepan over medium heat, combine sugar and milk. Stir until the mixture reaches a full rolling boil.
- Boil for exactly 2½ minutes without stirring.
- Remove from heat and stir in the peanut butter until completely smooth and glossy.
- Pour into the prepared pan and spread evenly.
- Cool at room temperature until firm, about 2 hours.
- Lift out and cut into squares.
Notes