
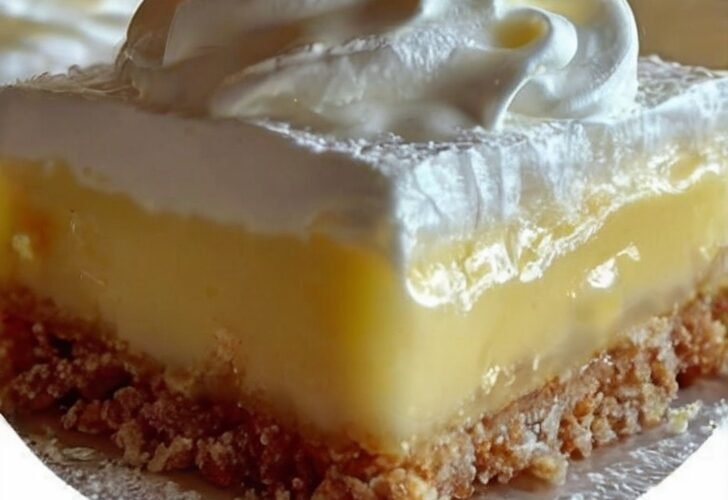
Lemon Bars – Bright, Buttery, and Pure Sunshine in a Pan
I made these on a Sunday afternoon when I had zero energy but a serious craving for something sweet and tangy. My mom used to make lemon bars every spring, and the second I pulled these out of the oven, that bright lemony smell brought me right back to her kitchen.
These bars are dangerously easy. Like, “I can’t believe something this good only takes a few minutes of actual work” easy. The crust is buttery and crumbly, the lemon filling is silky and perfectly tart, and that whipped cream on top? Pure heaven.
My husband ate three before dinner. No shame.
Why You’ll Love This Recipe
You will love these lemon bars because they deliver everything a classic lemon bar should—bright citrus, buttery shortbread, and a silky filling—without complicated steps. A simple press-in crust bakes until golden at the edges, then a quick whisk-together lemon filling goes on while the crust is still hot. After a second bake and a proper chill, you get clean slices with a tender crust and a smooth, tart-sweet top.
You will love how practical they are. One bowl for the crust, one for the filling, and a single 9×13 pan. Ideal for spring gatherings, potlucks, afternoon coffee, or those low-energy days when only something lemony will do.
You will love the texture and flavor. The crust is crumbly and rich. The filling is soft, bright, and perfectly balanced between sweet and tart. A dollop of whipped cream and a thin lemon slice make each bar look bakery-finished and taste even better.
Most of all, you will love the reactions. These are the bars that disappear from the plate before you can package any for the neighbor. They are the ones that earn “just one more” requests. In a world of fussy desserts, lemon bars this good are pure easy sunshine.
Why This Recipe Works
Cold butter cut into flour and powdered sugar creates a tender, shortbread-style crust that stays crisp under the filling. Baking the crust first sets it so it does not turn soggy when the lemon mixture is added. Pouring the filling onto the hot crust helps the two layers bond and gives the bars clean structure once chilled.
The filling is a classic lemon curd–style mixture thickened with eggs and a little flour. Fresh lemon juice and zest provide bright, real citrus flavor. Baking until just set with a slight jiggle keeps the filling silky rather than rubbery. A full cool and chill firms everything so the bars slice neatly and taste even better cold. These simple techniques produce reliable, crowd-pleasing lemon bars every time.
Ingredient Breakdown
All-Purpose Flour (1½ cups for crust + ¼ cup for filling)
Structure for the shortbread crust and a little thickening power for the filling.
Powdered Sugar (½ cup)
Sweetens the crust and keeps it tender and crumbly.
Unsalted Butter (¾ cup, cold and cubed)
The foundation of a rich, flaky shortbread base. Cold butter is essential for the right texture.
Eggs (4 large)
Set the filling into a smooth, sliceable custard.
Granulated Sugar (1½ cups)
Balances the tart lemon and creates a glossy, sweet filling.
Fresh Lemon Juice (⅔ cup)
The star flavor. Freshly squeezed gives the brightest taste (about 3–4 lemons).
Lemon Zest (1 tablespoon)
Adds aromatic oils and deeper lemon character.
Whipped Cream and Fresh Lemon Slices
The finishing touch for serving—optional but highly recommended.
Kitchen Equipment
A 9×13-inch baking dish, parchment paper, a mixing bowl, a pastry cutter or fork (or your fingers), a whisk, and a citrus juicer or reamer are the main tools. A microplane for zesting is helpful.
Step-by-Step Instructions
Preheat the oven to 350°F. Line a 9×13-inch baking dish with parchment paper, leaving an overhang for easy removal.
In a bowl, mix the 1½ cups flour and powdered sugar. Cut in the cold cubed butter until the mixture resembles coarse crumbs.
Press the crust mixture evenly into the bottom of the prepared pan. Bake for 18–20 minutes, until the edges are just starting to turn golden.
While the crust bakes, whisk the eggs, granulated sugar, ¼ cup flour, lemon juice, and lemon zest until smooth and bright yellow.
As soon as the crust comes out of the oven, pour the lemon filling over the hot crust.
Return the pan to the oven and bake for 20–25 minutes, until the filling is set but still has a slight jiggle in the center.
Cool completely in the pan, then refrigerate for at least 2 hours until fully chilled and firm.
Lift out using the parchment, slice into bars, and top each with whipped cream and a thin lemon slice before serving.
Expert Tips
- Use cold butter for the crust so it stays tender and crumbly rather than greasy.
- Fresh lemon juice is worth the extra minute—bottled juice lacks brightness.
- Zest the lemons before juicing them; it is much easier.
- Press the crust firmly and evenly so it bakes uniformly and supports the filling.
- Pour the filling onto the hot crust; this helps the layers adhere.
- Bake the filling only until set with a slight jiggle—overbaking makes it rubbery.
- Cool completely before chilling so condensation does not form on the surface.
- Chill at least 2 hours (overnight is even better) for clean slices and the best texture.
- A parchment overhang makes lifting and cutting effortless.
- Wipe the knife between cuts for neat edges.
- Lightly sweetened whipped cream balances the tart filling perfectly.
- For extra lemon intensity, add another teaspoon of zest.
- These travel well once chilled—keep them cold until serving.
- Corner pieces with a little extra crust are highly prized.
Common Mistakes to Avoid
- Using warm or melted butter in the crust. The texture will be off.
- Skipping the parchment. The bars can stick and be hard to remove cleanly.
- Underbaking the crust. It needs those lightly golden edges for structure and flavor.
- Pouring the filling onto a cooled crust. The bond between layers is stronger when the crust is hot.
- Overbaking the filling until it is completely firm and starting to brown. A slight jiggle is ideal.
- Cutting the bars before they are fully chilled. They will be messy and soft.
- Using bottled lemon juice. The flavor will be flatter and less bright.
- Forgetting the flour in the filling. It helps the filling set properly.
- Skipping the chill time. The bars need it to firm up and slice cleanly.
- Storing them uncovered in the refrigerator. They can absorb odors or dry on the surface.
- Adding the whipped cream too far ahead. It can weep; add just before serving.
- Expecting a very thick, pie-like filling. These are classic thin, silky lemon bars.
- Using a much smaller pan without adjusting. The filling depth and bake time will change.
- Making only one pan for a crowd that loves lemon—these go fast.
Ingredient Substitutions
Unsalted butter can be replaced with salted butter; omit any extra salt if the recipe called for it.
Fresh lemon juice can be partially replaced with bottled in a pinch, but fresh is strongly preferred.
Powdered sugar in the crust can be replaced with granulated sugar, though the crust will be slightly less tender.
Whipped cream can be replaced with a dusting of powdered sugar for a simpler finish.
Recipe Variations
- Extra Tart – Increase the lemon juice slightly and reduce the sugar by a couple of tablespoons.
- Coconut – Add ½ cup shredded coconut to the crust mixture for a tropical note.
- Lime – Replace some or all of the lemon juice and zest with lime for a different citrus profile.
- Berry – Add a few fresh raspberries or blueberries on top of the filling before the second bake.
- Shortbread Upgrade – Add a pinch of salt or a teaspoon of vanilla to the crust.
- Glazed – Skip the whipped cream and finish with a simple powdered-sugar lemon glaze.
- Mini Bars – Bake in a smaller pan or cut into smaller squares for bite-size treats.
- Make-Ahead – Bake and chill a day ahead; top with cream and lemon slices just before serving.
- Powdered Sugar Finish – Dust the chilled bars generously with powdered sugar instead of (or in addition to) whipped cream.
- Graham Crust – Replace part of the flour with graham cracker crumbs for a different base.
- Double Lemon – Add a little lemon extract along with the zest for even more citrus punch.
- Individual Servings – Bake in a muffin tin with liners (adjust times downward) for portable bars.
- Holiday Tray – Cut into small squares and arrange with other cookies for a dessert platter.
Make It Healthier
These are a classic sweet-tart treat. To enjoy them more mindfully, cut smaller bars, share the pan widely, and balance the rest of the day with lighter meals. Fresh lemon juice and a homemade crust already give you control over the ingredients. A modest dollop of whipped cream keeps the focus on the bright lemon flavor.
Meal Prep Guide
Lemon bars are excellent make-ahead desserts. Bake them the day before, chill overnight, and slice when needed. They keep their texture and flavor well in the refrigerator, making them ideal for parties, bake sales, or having something bright ready in the fridge.
Storage
Store the cooled, chilled bars in an airtight container in the refrigerator for up to 4–5 days. Keep the whipped cream separate and add it just before serving for the freshest look and texture. The bars themselves stay silky and bright when kept cold.
Freezing
Lemon bars freeze well. Freeze the chilled, uncut slab or individual bars on a tray until firm, then wrap tightly and store for up to 2 months. Thaw in the refrigerator. Add whipped cream and lemon slices after thawing. The texture remains very good.
Reheating
These bars are meant to be served cold or cool. There is no need to reheat them. If they have been frozen, thaw gently in the refrigerator so the filling stays smooth.
What to Serve With It
Lemon bars are perfect on their own with coffee or tea. They also shine on a dessert platter with berries, shortbread cookies, or other citrus treats. A simple fruit salad or a few fresh raspberries on the plate brightens the presentation. For a spring or summer gathering, they are ideal make-ahead finger desserts.
Beverage Pairings
Hot black tea or green tea complements the tart lemon and buttery crust. Coffee balances the sweetness nicely. Cold sparkling water with a lemon slice keeps things refreshing. A light dessert wine or a glass of cold milk also works well. Choose a drink that either cuts the richness or echoes the bright citrus notes.
Frequently Asked Questions
Can I use bottled lemon juice?
Fresh is strongly preferred for the brightest flavor. Bottled can be used in a pinch but will taste less vibrant.
Why do I pour the filling on the hot crust?
It helps the filling and crust adhere and gives the bars better structure once chilled.
How do I know when the filling is done?
It should be set around the edges with a slight jiggle in the center. It will firm more as it cools and chills.
Can I make these gluten-free?
Use a 1:1 gluten-free flour blend in both the crust and filling. Results are generally good.
How long do they need to chill?
At least 2 hours; overnight is even better for clean slices and full flavor.
Why is my crust tough?
The butter may have been too warm, or the dough was overworked. Use cold butter and mix only until crumbs form.
Why is my filling rubbery?
It was likely overbaked. Pull the bars when the center still has a slight jiggle.
Can I reduce the sugar?
You can reduce it slightly, but the balance of sweet and tart will change and the filling texture may be affected.
How many bars does this make?
About 16–24 bars depending on how large you cut them.
Do I have to use whipped cream?
No. A dusting of powdered sugar is the classic simple finish.
Can I make the crust in a food processor?
Yes. Pulse the flour, powdered sugar, and cold butter until coarse crumbs form, then press into the pan.
How should I store them?
In an airtight container in the refrigerator for up to 4–5 days.
Can I freeze lemon bars?
Yes. Freeze well wrapped for up to 2 months; thaw in the refrigerator.
Why did my filling crack?
Slight cracks can happen from overbaking or cooling too quickly. They still taste excellent and can be covered with whipped cream.
Are these very tart?
They are bright and balanced. If you prefer milder lemon flavor, reduce the zest slightly or serve with a little extra sweetened whipped cream.
Nutrition Information
Estimated nutrition per bar (based on 20 bars, without whipped cream): approximately 180–210 calories, 8–10 g fat, 26–30 g carbohydrates, 2–3 g protein. Values vary depending on exact ingredients and size of bars. These figures are estimates only and are not a substitute for professional nutritional advice. These bars are a sweet-tart treat best enjoyed in moderate portions.
Final Thoughts
Lemon bars are one of those desserts that feel like sunshine even on a low-energy Sunday. Buttery shortbread, silky tart-sweet lemon filling, and a little whipped cream on top come together with almost no fuss and maximum reward. The bright citrus smell alone is enough to bring back memories of spring kitchens and simpler afternoons.
I hope you make them the next time you need something sweet, tangy, and comforting. I hope the crust turns golden at the edges, the filling sets just right, and someone sneaks a third bar before dinner. If you try them, I would love to know whether you ate them straight from the fridge at midnight or actually waited for a plate—and whether the whipped cream was non-negotiable. From my kitchen to yours—bright, buttery, and pure easy sunshine.
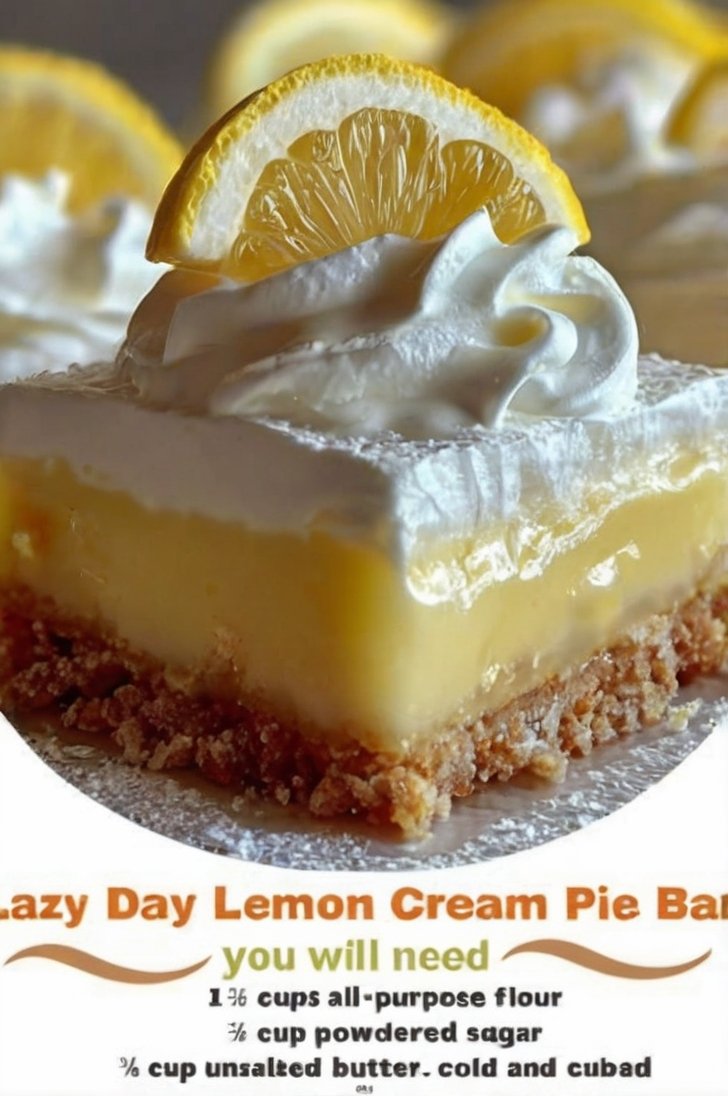
Lemon Bars
Ingredients
Equipment
Method
- Preheat oven to 350°F. Line a 9×13-inch dish with parchment.
- Mix flour and powdered sugar; cut in cold butter until coarse crumbs form. Press into pan. Bake 18–20 minutes until edges are lightly golden.
- Whisk eggs, sugar, flour, lemon juice, and zest until smooth. Pour over the hot crust.
- Bake 20–25 minutes until set with a slight jiggle in the center.
- Cool completely, then chill at least 2 hours. Slice and top with whipped cream and lemon slices.
Notes