
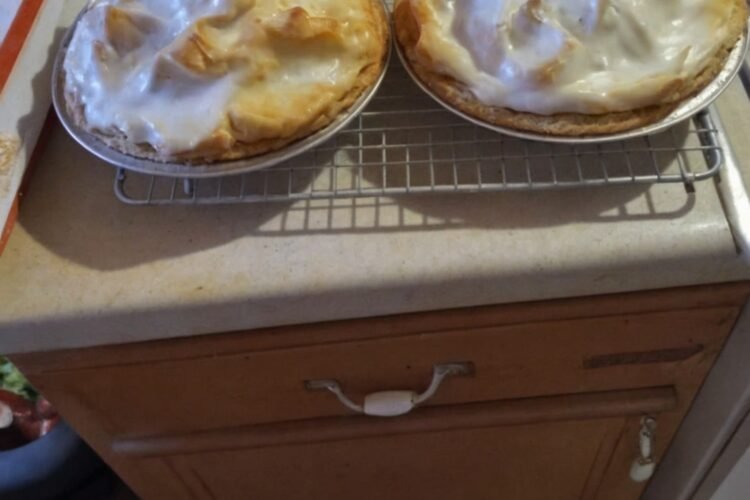
Classic Chocolate Meringue Pie – The Fail-Proof Recipe I’ve Made for Over 45 Years
I have been making this chocolate pie since I was 18 years old. I am 64 now, and it has never failed me. Over the years I switched the filling to the microwave because it is faster and just as reliable, but the heart of the recipe stays exactly the same: a rich, silky chocolate custard poured into a baked pie shell and crowned with a tall, golden meringue.
This is the pie that shows up at every family gathering, the one people quietly request for birthdays, and the one that still makes my kitchen smell like pure comfort. The filling is deeply chocolatey without being heavy, the meringue is cloud-soft with those beautiful toasted peaks, and the whole thing slices clean once it has had time to set. It tastes like the kind of dessert that took all afternoon, yet the filling comes together in minutes.
If you have ever wanted a from-scratch chocolate pie that actually works every single time, this is the one.
Why You’ll Love This Recipe
You will love this classic chocolate meringue pie because it delivers old-fashioned, bakery-quality results with a method that is genuinely fail-proof. A simple stovetop-style custard made easy in the microwave sets up silky and rich. Real cocoa gives deep chocolate flavor. A tall meringue baked until golden adds the perfect light, sweet contrast.
You will love how practical it is. The filling uses pantry staples and comes together in one microwave-safe bowl. No tempering drama on the stove if you prefer the microwave route. Ideal for holidays, Sunday dinners, potlucks, or any time you want a dessert that feels special and made-from-scratch.
You will love the texture and flavor. The chocolate layer is smooth, glossy, and sliceable. The meringue is soft and marshmallow-like inside with crisp, toasted peaks. Every bite balances rich chocolate and airy sweetness.
Most of all, you will love the reactions. This is the pie that makes people close their eyes for a second. It is the one that disappears before the coffee is finished. In a world of complicated desserts, a chocolate meringue pie this reliable and delicious is pure comfort.
Why This Recipe Works
Cocoa powder, sugar, cornstarch, and salt form a dry base that thickens reliably when cooked with egg yolks and evaporated milk. Cornstarch provides stable thickening that holds up well once cooled. Egg yolks add richness, color, and a custard-like texture. Evaporated milk gives body and creaminess without the risk of curdling that regular milk can sometimes bring.
Microwaving in short intervals with thorough whisking in between allows the mixture to heat evenly and prevents scorching or lumps. Butter and vanilla stirred in at the end add silkiness and round out the chocolate flavor. Pouring the hot filling into a pre-baked pie shell helps the meringue adhere properly.
Room-temperature egg whites whipped with cream of tartar and gradual sugar reach stable, glossy peaks that bake into a classic toasted meringue. Spreading the meringue all the way to the crust seals the filling and helps prevent weeping. These time-tested techniques produce a pie that sets beautifully and tastes like pure nostalgia.
Ingredient Breakdown
Sugar (1½ cups)
Sweetens the filling and helps create a smooth, glossy custard.
Cocoa Powder (3 heaping tablespoons)
Provides deep chocolate flavor. Use regular unsweetened cocoa.
Cornstarch (2 tablespoons)
The primary thickener that gives the filling its sliceable texture.
Salt (pinch)
Balances the sweetness and enhances the chocolate.
Egg Yolks (4)
Add richness, color, and custard structure. Save the whites for the meringue.
Evaporated Milk (12 ounces)
Creates a creamy, stable base that thickens beautifully.
Vanilla Extract (1 teaspoon)
Rounds out the chocolate flavor.
Butter (½ stick / 4 tablespoons)
Stirred in at the end for silkiness and shine.
Baked 9-inch Pie Shell
The crisp foundation. Use homemade or a quality store-bought crust, fully baked and cooled.
For the Meringue
- 4 egg whites (room temperature)
- Pinch of salt
- ¼ teaspoon cream of tartar
- 8 teaspoons sugar (added gradually)
Kitchen Equipment
A large microwave-safe bowl, a whisk, a 9-inch baked pie shell, and a hand mixer or stand mixer for the meringue are the main tools. An oven for browning the meringue is required.
Step-by-Step Instructions
Make sure you have a fully baked and cooled 9-inch pie shell ready.
In a large microwave-safe bowl, whisk together the sugar, cocoa powder, cornstarch, and pinch of salt until well combined and no lumps of cocoa remain.
Add the egg yolks and evaporated milk. Whisk thoroughly until the mixture is completely smooth and uniform.
Microwave on high for 2 minutes. Remove and whisk vigorously until smooth.
Return to the microwave for another 2 minutes. Whisk thoroughly again.
Continue microwaving in 1-minute intervals, whisking well after each, until the filling is thick, glossy, and coats the back of a spoon. Total time is usually 5–7 minutes depending on your microwave.
Remove from the microwave and immediately whisk in the vanilla and butter until the butter is fully melted and the filling is silky.
Pour the hot filling into the baked pie shell and smooth the top.
For the Meringue
Place the room-temperature egg whites in a clean mixing bowl. Add a pinch of salt and the cream of tartar.
Beat on medium speed until soft peaks form.
Gradually add the sugar, 2 teaspoons at a time, beating well after each addition, until all 8 teaspoons are incorporated and the meringue holds stiff, glossy peaks.
Spread the meringue over the hot chocolate filling, making sure it touches the crust all the way around to seal. Swirl the top into peaks if desired.
Bake at 375°F for 10–15 minutes, or until the meringue is beautifully golden brown on the peaks.
Cool the pie on a wire rack for at least 1–2 hours, then refrigerate until fully set before slicing.
Expert Tips
- Use room-temperature egg whites for the greatest volume and most stable meringue.
- Make sure your mixing bowl and beaters are completely clean and free of grease—any fat will prevent the whites from whipping properly.
- Whisk the filling thoroughly after every microwave interval to keep it smooth and lump-free.
- The filling is ready when it is thick enough to mound slightly and coat a spoon.
- Pour the filling into the crust while it is still hot so the meringue bonds well.
- Seal the meringue to the crust edges to help prevent shrinking and weeping.
- Cream of tartar stabilizes the egg whites and helps the meringue hold its shape.
- Add the sugar gradually so the meringue stays smooth and glossy rather than grainy.
- Cool the pie completely before refrigerating to reduce condensation under the meringue.
- For the cleanest slices, dip a sharp knife in hot water and wipe it between cuts.
- A heaping tablespoon of cocoa means a nicely rounded, generous spoonful.
- If your microwave is very powerful, start checking earlier to avoid overcooking the filling.
- This pie is best the day it is made but still excellent the next day.
- Leftover pie should be stored in the refrigerator, loosely covered.
Common Mistakes to Avoid
- Using cold egg whites. They will not reach full volume.
- Getting even a trace of yolk or grease in the egg whites. The meringue will refuse to whip.
- Under-whisking the filling between microwave sessions. Lumps can form.
- Overcooking the filling until it becomes pasty or scorched on the bottom.
- Spreading meringue on a cooled filling. It is more likely to weep or shrink.
- Failing to seal the meringue to the crust. Gaps allow the filling to show and the meringue to pull away.
- Adding all the sugar at once. The meringue can become grainy or unstable.
- Baking the meringue at too high a temperature. It can brown too fast before the inside sets.
- Slicing the pie while it is still warm. The filling needs time to firm up.
- Skipping the cream of tartar. It provides important stability.
- Using a pie shell that is not fully baked. The bottom can turn soggy.
- Covering the pie tightly with plastic wrap while still warm. Condensation will form on the meringue.
- Expecting the filling to be as thick as pudding right out of the microwave—it continues to set as it cools.
- Rushing the cooling process. Patience gives the cleanest slices and best texture.
Ingredient Substitutions
Evaporated milk can be replaced with whole milk, though the filling may be slightly less rich and may take a little longer to thicken.
Cocoa powder can be natural or Dutch-process; both work, though Dutch-process gives a deeper color and milder flavor.
Butter can be unsalted or salted; if using salted, reduce the added pinch of salt slightly.
A homemade pie crust or quality frozen crust both succeed—just bake it fully first.
Cream of tartar can be replaced with ½ teaspoon lemon juice or white vinegar in a pinch, though cream of tartar is preferred.
Recipe Variations
- Darker Chocolate – Add an extra tablespoon of cocoa for a deeper flavor.
- Mocha – Stir 1 teaspoon instant espresso powder into the dry ingredients.
- Coconut – Sprinkle toasted coconut over the meringue just before baking.
- Nutty – Add a handful of chopped toasted pecans or walnuts on top of the filling before the meringue.
- Double Chocolate – Fold mini chocolate chips into the hot filling before pouring into the crust.
- Individual Pies – Use mini pie shells and reduce baking time for the meringue.
- Whipped Cream Topping – Skip the meringue and top the cooled pie with sweetened whipped cream instead.
- Chocolate Cookie Crust – Use a chocolate cookie crumb crust for extra chocolate intensity.
- Salted Caramel – Drizzle a little salted caramel over the finished meringue.
- Holiday – Add a pinch of cinnamon or a drop of peppermint extract to the filling.
- Make-Ahead – Bake the pie earlier in the day and refrigerate until serving.
- Mini Meringue Peaks – Pipe the meringue for a more decorative look.
- Classic Stovetop – If you prefer, cook the filling on the stovetop over medium heat, whisking constantly, until thick.
Make It Healthier
This is a classic, rich dessert. To enjoy it more mindfully, cut smaller slices, share generously, and pair each serving with fresh berries. Using a slightly less sweet meringue or a lighter hand with the sugar in the filling can moderate the sweetness while keeping the nostalgic character intact.
Meal Prep Guide
The pie can be made earlier in the day or even the day before serving. Cool it completely, then refrigerate uncovered until cold before covering loosely. The filling sets firmly and the flavors stay excellent. Meringue is best the day it is baked, but the pie still tastes wonderful the next day.
Storage
Store the cooled pie loosely covered in the refrigerator for up to 3 days. Keep it away from strong-smelling foods. The meringue may soften slightly over time but remains delicious.
Freezing
Freezing is not recommended. The meringue texture suffers, and the filling can become watery when thawed. This pie is best enjoyed fresh or within a few days of baking.
Reheating
This pie is traditionally served chilled or at cool room temperature. Do not reheat the whole pie. If you prefer a slightly softer filling, let individual slices sit at room temperature for 15–20 minutes before serving.
What to Serve With It
Chocolate meringue pie is perfect on its own or with a dollop of lightly sweetened whipped cream. It pairs beautifully with fresh berries, a simple cup of coffee, or a glass of cold milk. For a full dessert table, serve it alongside other classic pies or a fresh fruit salad to balance the richness.
Beverage Pairings
Hot coffee or black tea cuts through the sweetness and complements the chocolate perfectly. Cold milk is the nostalgic classic. A glass of port or a dessert wine works for special occasions. Choose a drink that either balances the richness or leans into the cozy, old-fashioned character of the pie.
Frequently Asked Questions
Can I cook the filling on the stovetop instead of the microwave?
Yes. Cook over medium heat, whisking constantly, until the mixture thickens and comes to a gentle bubble.
Why do I need room-temperature egg whites?
They whip to greater volume and produce a more stable meringue.
How do I keep the meringue from weeping?
Seal it completely to the crust, spread it on hot filling, and avoid covering the pie while it is still warm.
Can I use a store-bought pie crust?
Yes. Just bake it fully according to package directions before adding the filling.
How long does the filling take in the microwave?
Usually 5–7 minutes total, but all microwaves differ. Look for a thick, glossy consistency.
Why is my filling lumpy?
It was not whisked thoroughly between microwave intervals. Whisk vigorously after every cooking period.
Can I make the pie ahead?
Yes. It holds well in the refrigerator for a day or two.
How do I get clean slices?
Chill the pie thoroughly and dip a sharp knife in hot water, wiping it clean between cuts.
Is cream of tartar necessary?
It helps stabilize the meringue. Lemon juice or vinegar can substitute in a pinch.
Can I use regular milk instead of evaporated?
Yes, though the filling may be slightly less rich and may need a bit more cooking time to thicken.
Why did my meringue shrink?
It may not have been sealed to the crust, or the pie was cooled too quickly.
How many does this serve?
About 8 slices.
Can I double the recipe?
Yes for two pies. Make the fillings and meringues separately for best control.
What kind of cocoa works best?
Regular unsweetened cocoa powder. Dutch-process also works and gives a deeper color.
Would you serve this warm or cold?
Classic chocolate meringue pie is best fully cooled and chilled so the filling sets cleanly.
Nutrition Information
Estimated nutrition per slice (based on 8 slices): approximately 380–460 calories, 16–22 g fat, 54–62 g carbohydrates, 7–9 g protein. Values vary depending on the exact crust, cocoa, and portion size. These figures are estimates only and are not a substitute for professional nutritional advice. This is a rich, classic dessert best enjoyed in moderate portions.
Final Thoughts
This chocolate meringue pie has been my fail-proof recipe for more than four decades. Rich, silky chocolate filling, a tall golden meringue, and a crisp pie crust come together in a dessert that tastes like home and celebration at the same time. It is the kind of pie that makes people linger at the table and ask if there is another slice.
I hope you make it the next time you want something classic, reliable, and deeply satisfying. I hope the filling turns out glossy and smooth, the meringue peaks turn perfect golden brown, and the first slice draws a quiet smile. If you try it, I would love to know whether you grew up with a pie like this—and how quickly it disappeared. From my kitchen to yours—chocolatey, cloud-topped, time-tested, and pure comfort.
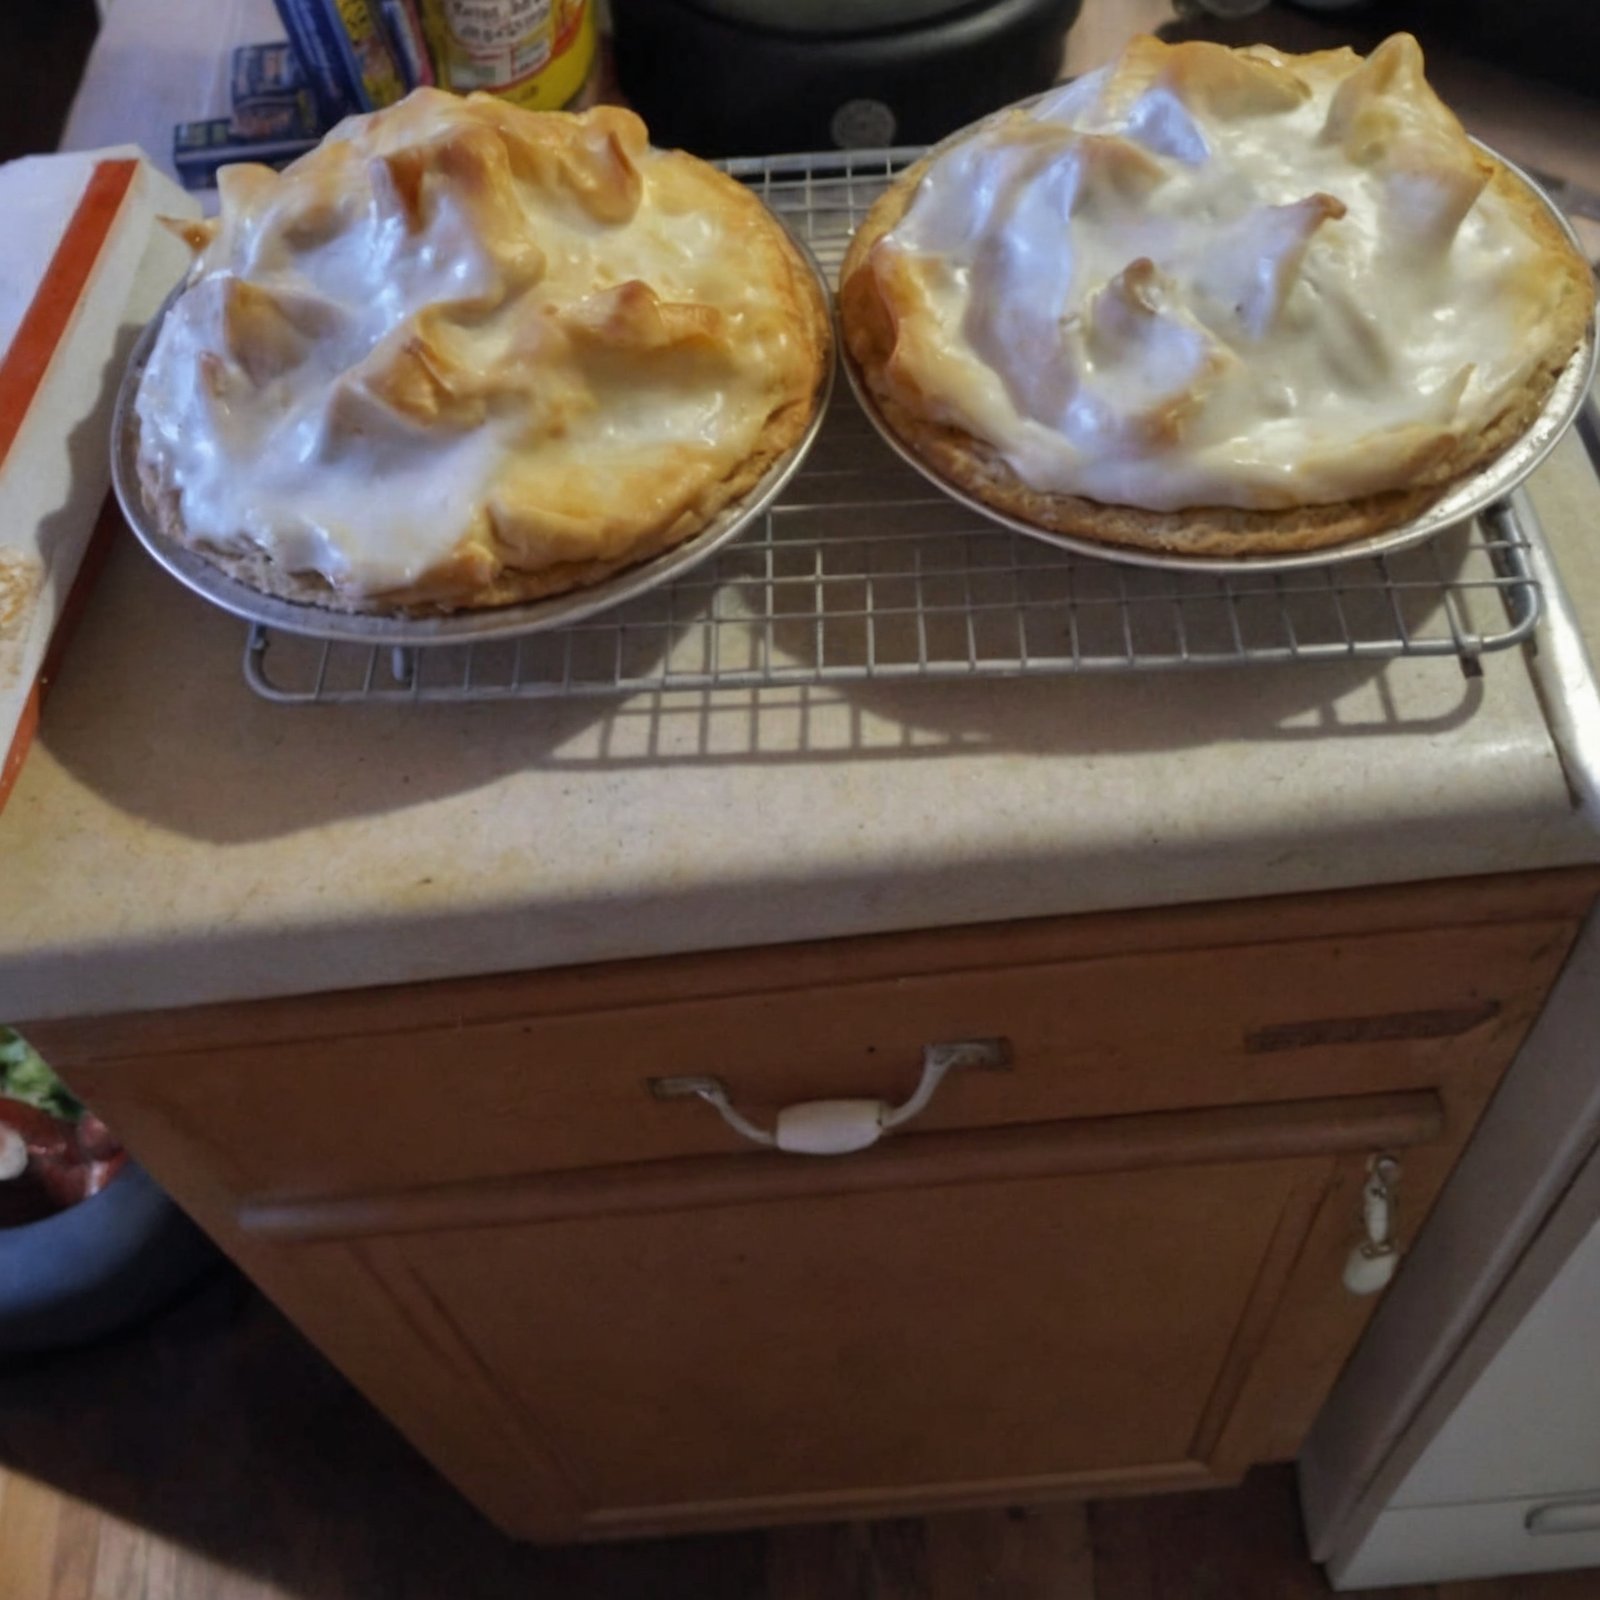
Classic Chocolate Meringue Pie
Ingredients
Equipment
Method
- Whisk sugar, cocoa, cornstarch, and salt in a large microwave-safe bowl. Add egg yolks and evaporated milk; whisk until smooth.
- Microwave 2 minutes, whisk well; repeat for 2 minutes, then continue in 1-minute intervals until thick and glossy.
- Whisk in vanilla and butter. Pour into baked pie shell.
- Beat egg whites, salt, and cream of tartar to soft peaks. Gradually add sugar, 2 teaspoons at a time, until stiff glossy peaks form.
- Spread meringue over hot filling, sealing to the crust. Bake at 375°F until peaks are golden.
- Cool completely, then refrigerate until set before slicing.
Notes