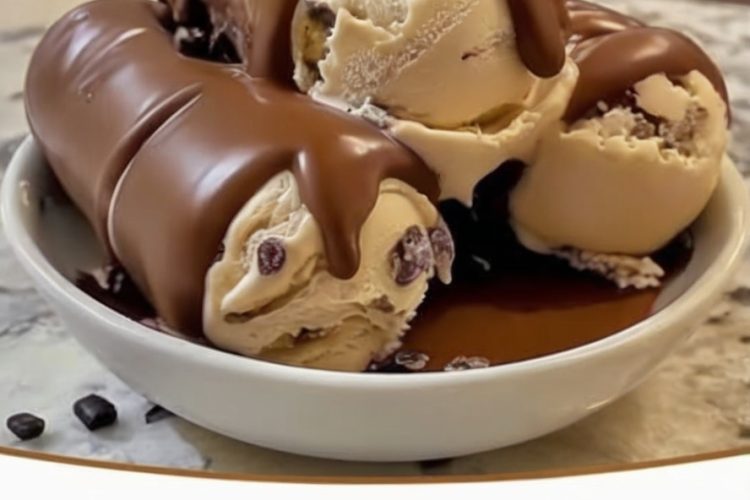
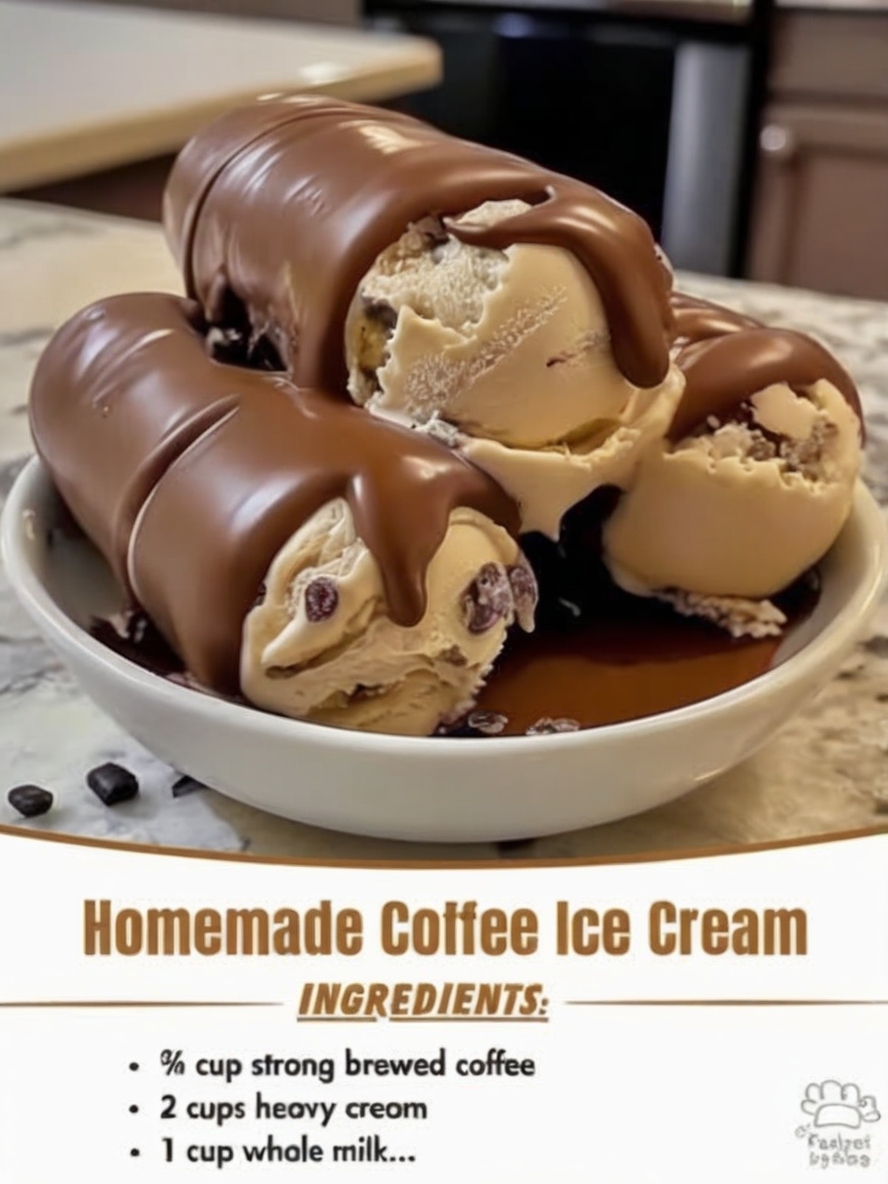
Homemade Coffee Ice Cream – Creamy, Dreamy, and Packed with Flavor
If you're a coffee lover, prepare to fall in love. This homemade coffee ice cream is the ultimate treat—rich, creamy, and perfectly infused with bold espresso flavor. No more store-bought pints that leave you wanting more. This easy recipe delivers barista-level goodness right from your own kitchen!
Whether you're craving a midday caffeine-inspired indulgence or looking to wow guests at your next summer gathering, this espresso ice cream is everything you need: simple, luxurious, and oh-so-satisfying.
Why You’ll Love This Coffee Ice Cream
- ✅ Packed with bold coffee flavor from real espresso or instant coffee
- ✅ Smooth and creamy texture without eggs (no custard base!)
- ✅ Easy-to-make with just a few pantry staples
- ✅ Perfect dessert for coffee lovers
- ✅ Freezer-friendly and great for make-ahead entertaining
Ingredients
- 2 cups heavy cream
- 1 cup whole milk
- ¾ cup granulated sugar
- 2 tablespoons instant coffee or espresso powder
- 1 teaspoon vanilla extract
- Pinch of salt
Equipment Needed
Medium saucepan
Mixing bowl
Whisk
Ice cream maker
Airtight container for freezing
How to Make Homemade Coffee Ice Cream
- Heat the Base: In a medium saucepan, combine heavy cream, whole milk, sugar, and instant coffee or espresso powder. Heat over medium, stirring until sugar dissolves and the mixture is hot (but not boiling), about 5–7 minutes.
- Add Flavor: Remove from heat. Stir in vanilla extract and a pinch of salt.
- Cool It Down: Pour mixture into a bowl and let cool to room temperature. Then cover and refrigerate for at least 4 hours (or overnight). Chilling ensures a smoother texture.
- Churn: Pour chilled mixture into your ice cream maker and churn according to the manufacturer’s instructions (usually 20–30 minutes).
- Freeze to Set: Transfer churned ice cream to an airtight container and freeze for at least 4–6 hours until firm.
- Scoop and Serve: Serve in bowls, cones, or with a shot of espresso poured on top for an affogato twist!
Serving Suggestions
- Top with shaved chocolate or crushed biscotti for extra crunch
- Make affogato by pouring hot espresso over a scoop
- Sandwich it between cookies for homemade ice cream sandwiches
- Serve with a drizzle of caramel or chocolate syrup
Tips for Success
- Use quality espresso powder for the best flavor (don’t skimp here!)
- Chill your base thoroughly before churning to ensure a creamy finish
- Don't skip the salt – it brings out the depth of the coffee
Storage
Store in an airtight container in the freezer for up to 2 weeks. Place a piece of parchment or plastic wrap on the surface of the ice cream to prevent ice crystals.
Homemade Coffee Ice Cream
Ingredients
Equipment
Method
- In a saucepan over medium heat, combine cream, milk, sugar, and coffee powder. Stir and heat until sugar dissolves.
- Remove from heat and stir in vanilla extract and salt.
- Cool to room temp. Refrigerate for at least 4 hours or overnight.
- Pour chilled mixture into ice cream maker. Churn for 20–30 minutes.
- Transfer to a container and freeze for 4–6 hours or until firm.
- Serve and enjoy!
Notes
- Serve with chocolate shavings, caramel, or as affogato!
- Keeps in freezer for up to 2 weeks.